
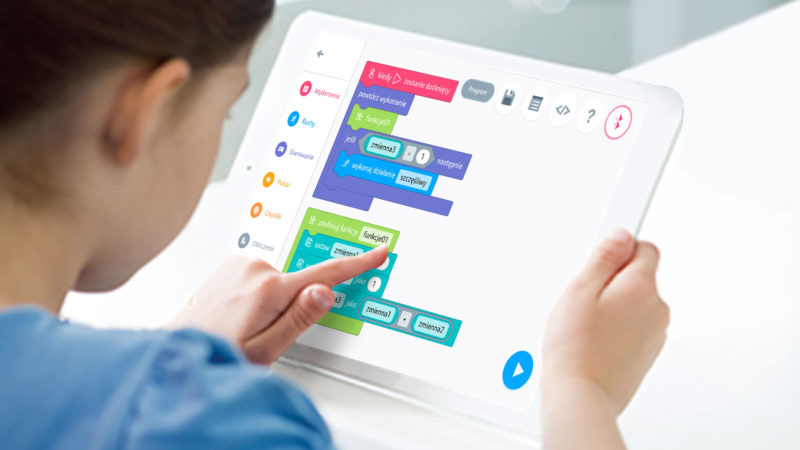
WarriorBot – a novelty from UBTECH – unboxing, tests, and subjective product review

In recent days, a novelty from UBTECH – WarriorBot – arrived at our company. Even from the description alone, I couldn’t wait to build one of the robots and test its capabilities. The first thing that catches the eye is the size of the packaging, which is really substantial (as is its weight), but it’s no wonder – after all, inside there are over 700 blocks for building the robot and additional accessories designed to diversify the fun and learning of programming! The set is intended for children aged eight and up, and among the additional accessories, we find a map, 3 cardboard dice, and a gate, a ball, a ramp, and stickers, which we can use to decorate our models or create obstacles, such as flags.
Due to the number of elements, the only place in my home that could accommodate them all was the floor – that’s why you can admire my beautiful laminate flooring in the photos. 😊
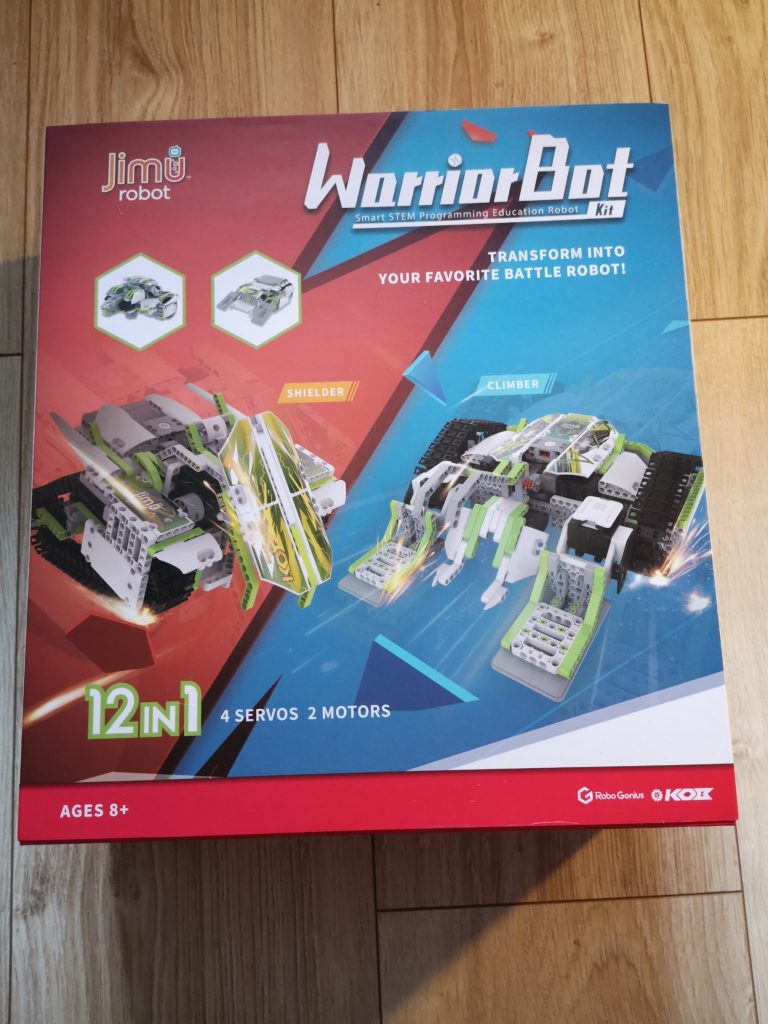
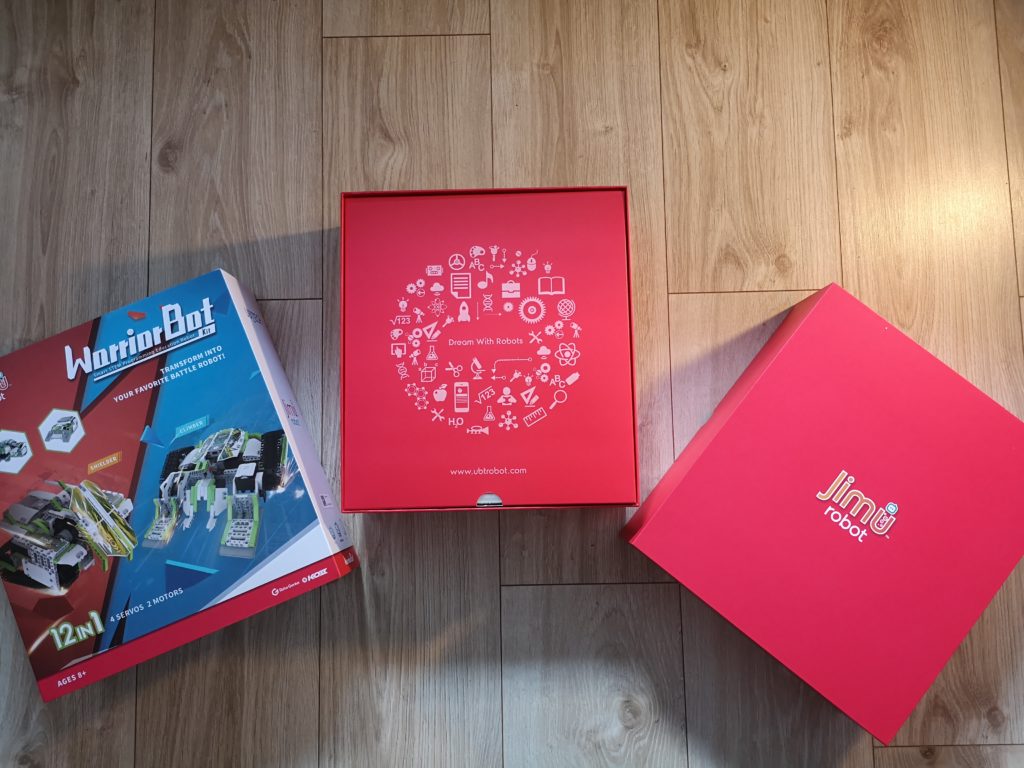
After opening the box in a wonderful raspberry color, we find an insert and a smaller package that visually matches the rest.
After taking out all the elements from the packaging, I was sure that the robot would be impressive once built. The additional elements also piqued my curiosity: stickers, Velcro straps, a ball, and cardboard dice, as well as an orange box.
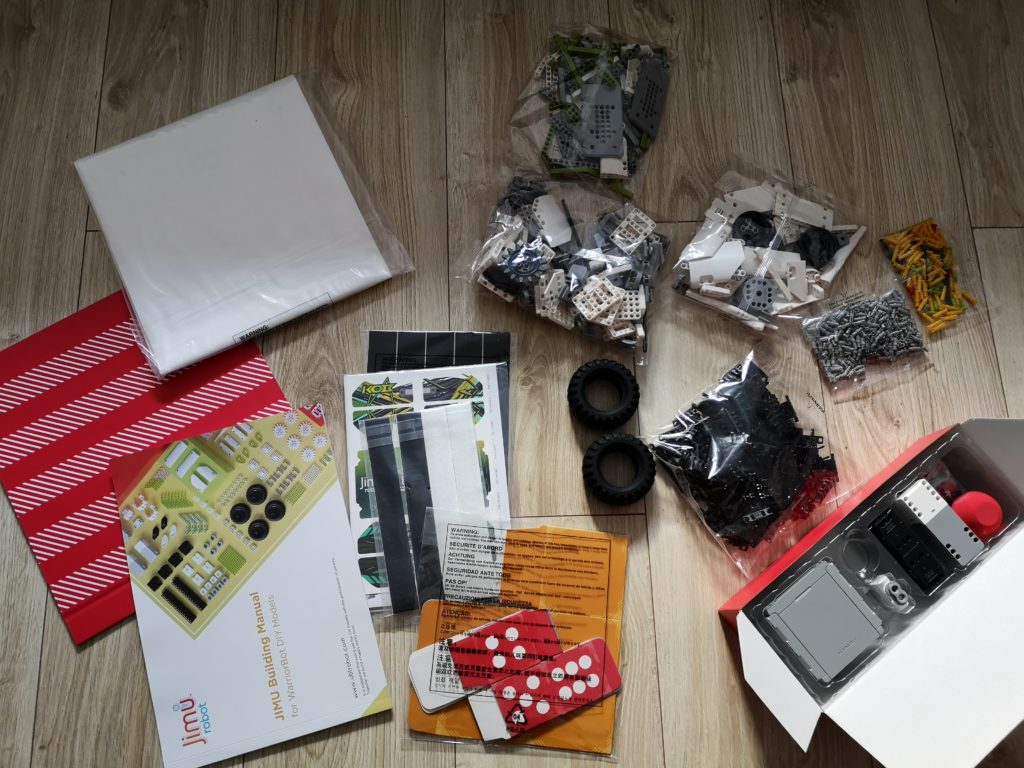
It’s worth mentioning that the set also includes a manual instruction for assembling 6 basic models: BBQ, Fang, White Knight, Slicer, Hammer, and Starship. Building robots enhances manual skills, which are useful not only when creating more complex models but also, for example, during art classes.
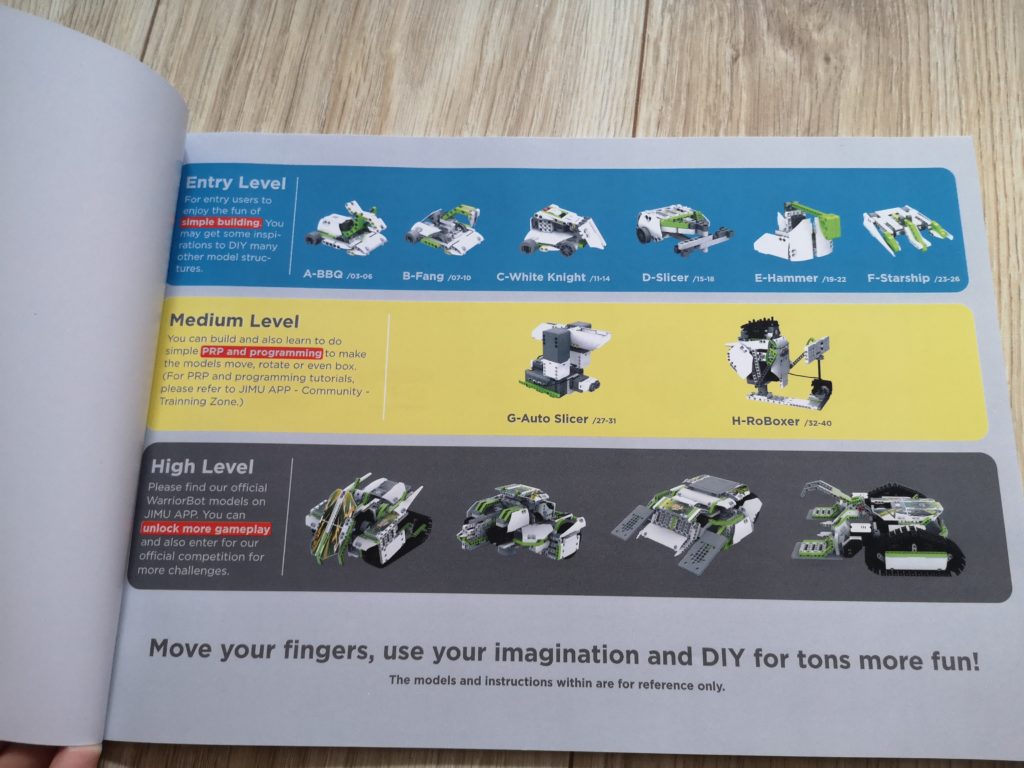
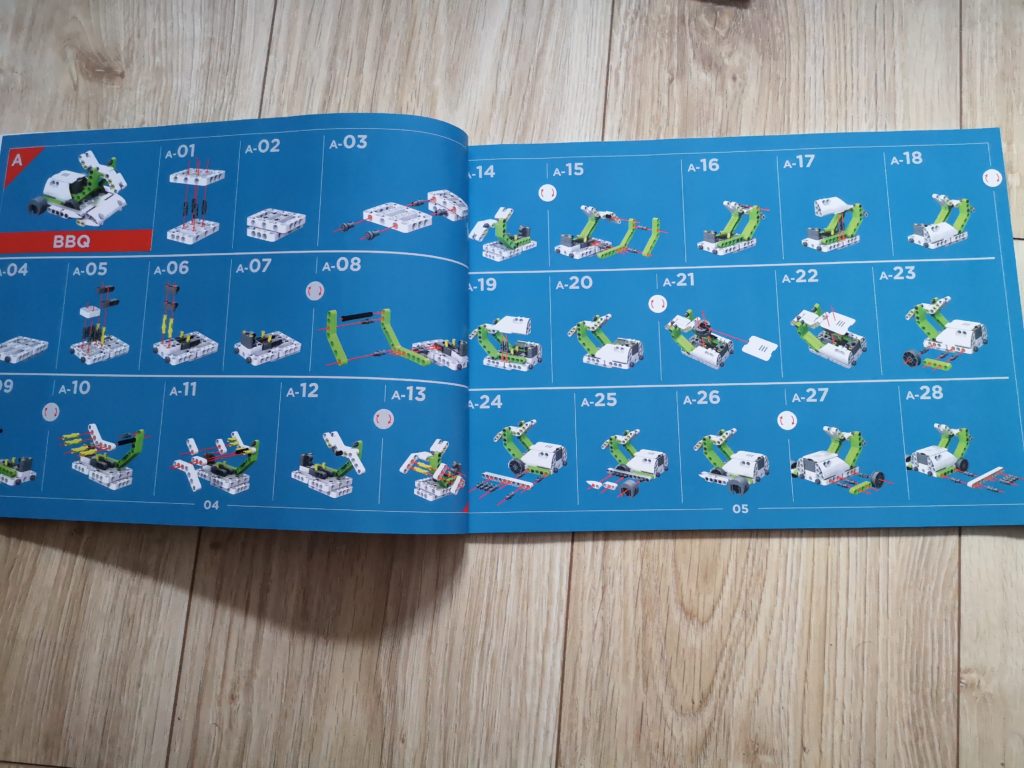
The last two models from the instructions: Auto Slicer and RoBoxer can be programmed, allowing children to smoothly transition from building simple models to more complex ones. This makes adding a programming element to the built models more natural. Because the models from the manual instructions are not automatically added to the app, kids have the opportunity to learn how to add their DIY projects to the app. Instructions on how to do this can be found in the app under the community/training/DIY Model I section.
I decided to assemble one of the advanced models from this set, and I chose the Climber. Building the robot is the same as in other Jimu sets – the 3D app guides us step-by-step through the entire building process, for which it’s sometimes worth using the included “pen.” With the help of the “pen,” we can easily arrange elements that are harder to access, for example: due to finger thickness (here, kids have an advantage!), or as in my case – long fingernails. Here, I must reassure all the female teachers – the parts fit perfectly, so your manicure will remain intact😉
After finishing the construction, we receive instructions in the app describing which additional elements to place on the provided mat, which can help in creating tasks for students, as it has marked areas for “start” and “end,” arrows indicating the direction of movement, and as it turns out later – places to put additional elements added to the set. In my case, these were the cardboard boxes from the robot, including a ramp leading to one of them, a ball, a tire, and flags that should be avoided when controlling the robot.
Of course, I couldn’t resist the pleasure of testing the robot’s actions and trying my hand at driving onto the box and picking up the ball. While picking up the ball is quite simple, the action of driving the robot onto the ramp requires some practice. Additionally, the robot is very fast and sensitive, so the slightest movement on the screen causes the robot to act.
Playing with WarriorBot gave me a lot of pleasure, and the most interesting moment turned out to be selecting the “ready to go” option from the coding box – the robot makes engine roaring sounds and prepares for takeoff!
And now I will move on to the last function and possibility that this novelty offers us. If we own a PS4, we can connect the controller to the robot using the app. This way, the controller we use for virtual entertainment gains a new function. We can assign specific actions to the buttons on the right (triangle, square, etc.), making them accessible from the controller.
In summary – after the initial unboxing and short tests – WarriorBot made a huge impression on me! I think it’s a very interesting proposition not only for schools but also for children whose parents want to give their little ones not only hours of fun but also an interesting educational toy that will introduce them to the world of programming in an attractive way. Additionally, the function of controlling WarriorBot with an external controller allows us to expand the robot’s capabilities and enter an interactive world where the devices we have at home can communicate with each other and form a whole.