
Vision Techconnect 3 – assembling a module kit

Last year, a new version of the connector management system from Vision debuted in our offer – Techconnect 3. In this article, we will show you step-by-step how to assemble a typical TC3 kit consisting of a 5-slot box, ports: VGA with minijack, HDMI, and USB-B.
Techconnect 3 continues the series’ tradition by providing a simple modular connector system that can be mounted anywhere – on a wall or on a desk. The advantage of this solution is its flexibility. Modularity allows you to create any set of ports, which can also be freely modified in the future – adding, subtracting, or replacing modules.
Example: when a projector in a conference room is replaced with a model with an HDMI port, we can, for example, replace one VGA module with a port with an HDMI connector.
What is the difference between the previous version (TC2) and Techconnect 3? To keep it brief, below we provide a summary of the basic differences provided by the manufacturer. From the information we receive from installers, it is worth noting the noticeably better quality of the materials from which the boxes are made – the plastic is harder, and the front panels of the modules are additionally reinforced so they do not bend when plugging and unplugging cables.
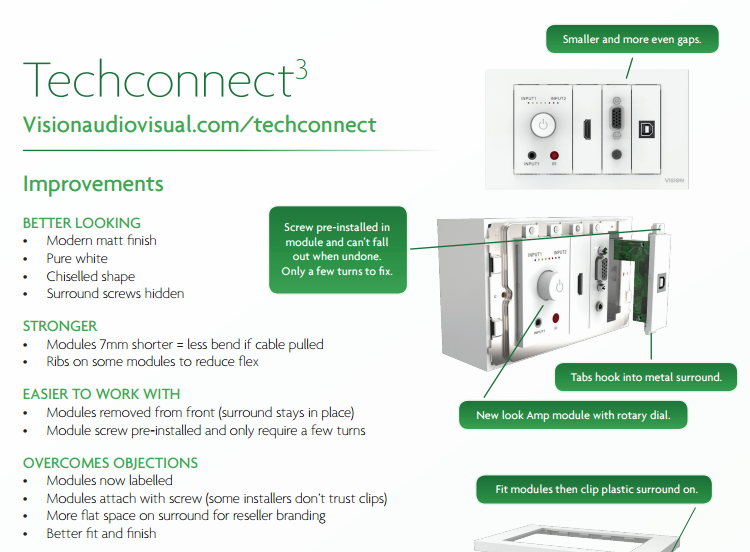 click on the image to open the full comparison
Who is this solution for?
The answer is simple – for everyone who wants to organize the growing number of cables and connections in rooms where there are many audio-video devices. An ideal example (which is also the place where such kits are most often installed) is classrooms in schools of all levels. In such cases, TC3 is the perfect complement to interactive sets (interactive whiteboard, projector, speakers) or installations with an interactive monitor. Another place is conference rooms, where such connections are installed, e.g., on a wall or table. In the case where a room is equipped with audio-video equipment, proper cable management allows you to avoid the chaos associated with a large number of cables.
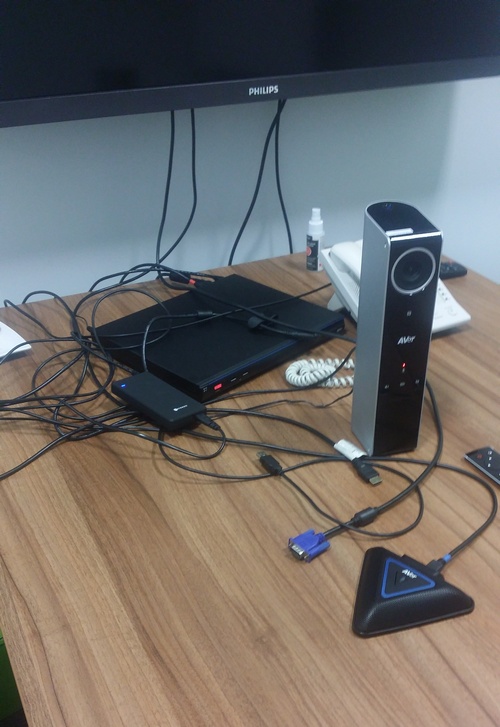
A very common sight in conference rooms
What does a typical “assembly” of the kit look like?
At the beginning, there is, of course, the appropriate selection of components – modules, the box, and the frame. Let’s start with the modules.
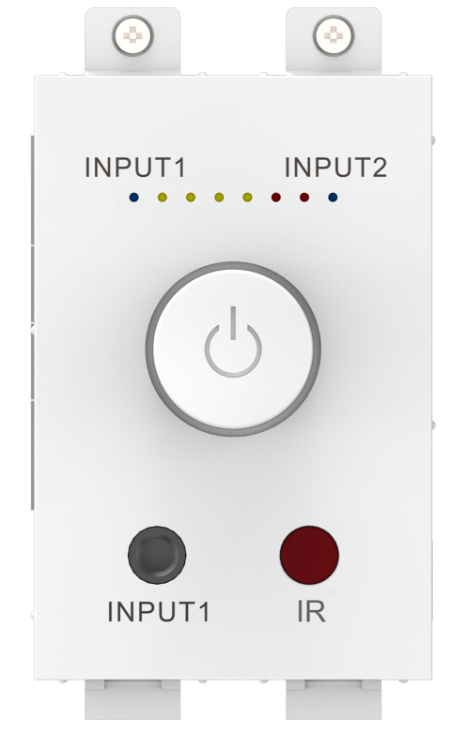
Among the TC3 module offer, you can find a range of solutions that can be used for transmitting audio and video signals and for data transmission. Among the components, you can also find more advanced modules, such as digital amplifiers or control systems.

Example: if the installation is to transmit an image via a VGA cable to a projector, you should simply choose a module with a VGA port. VGA + mini jack modules are also available – which allows for transmitting not only the image but also sound. In the case of installing, for example, an interactive whiteboard, it is also required to connect the board to a computer using a USB cable, so it is worth expanding Techconnect with a USB connector – you can choose between USB type A and B.
If we have already chosen the connectors / set of connectors, we choose the mounting method. This term covers the selection of the mounting box – you can choose wall-mounted boxes, drywall boxes, and desk-mounted boxes (available only in the larger, 5-module version). Important – the boxes are available in two versions – 2 and 5 modules. This number indicates the maximum number of modules that can be mounted in the box.
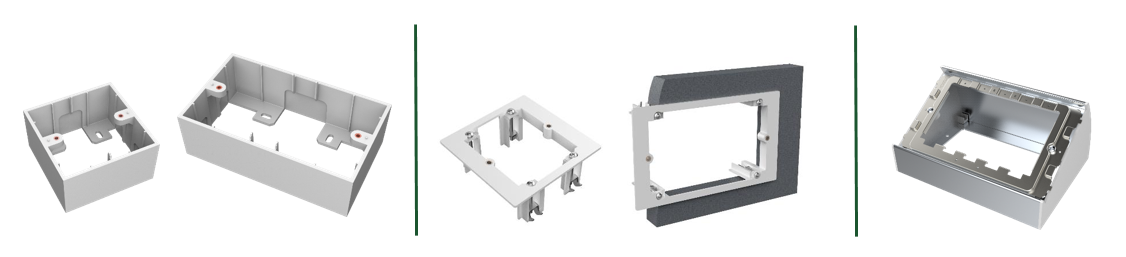
Example: a 2-slot box will fit 1 HDMI module and 1 USB module. If we need to add one more module, we must invest in a 5-slot box and two blanking plates that will mask the two unused slots.
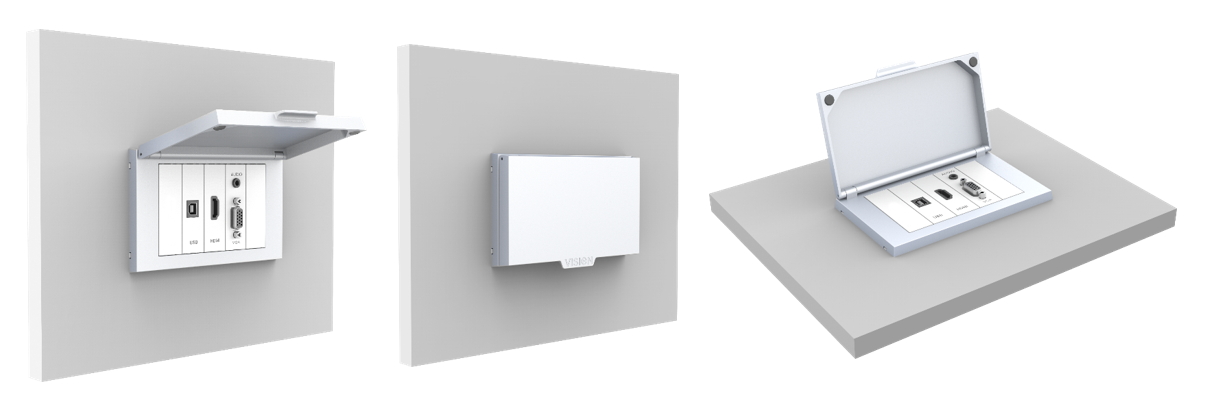
After choosing the box, we must choose the frame, following the rule: 2-slot box = 2-slot frame. For the 5-slot version, a special frame with a closing cover is also available.
Finally, we must, of course, choose the appropriate cabling matched to the types of previously selected connector-modules. Special cable sets of various lengths (5, 10, 15 m) are available in the Vision offer, but you can just as well use cables from other manufacturers. To maintain the aesthetics of the surface-mounted installation, we also suggest using cable ducts or cable guides.
Let’s assemble our kit!
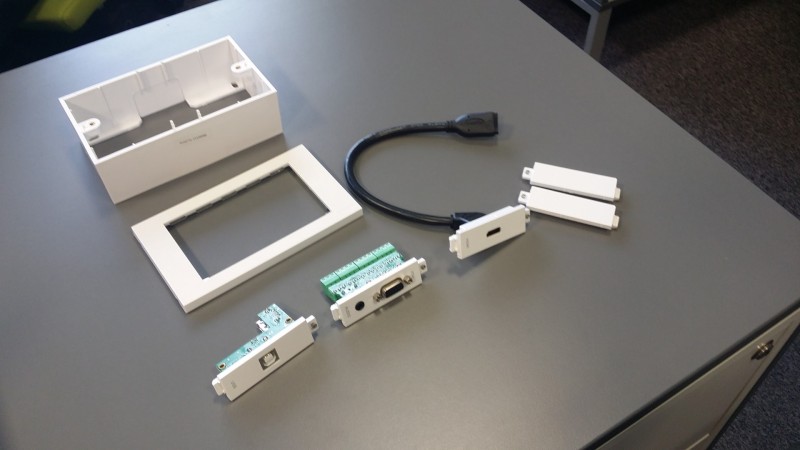
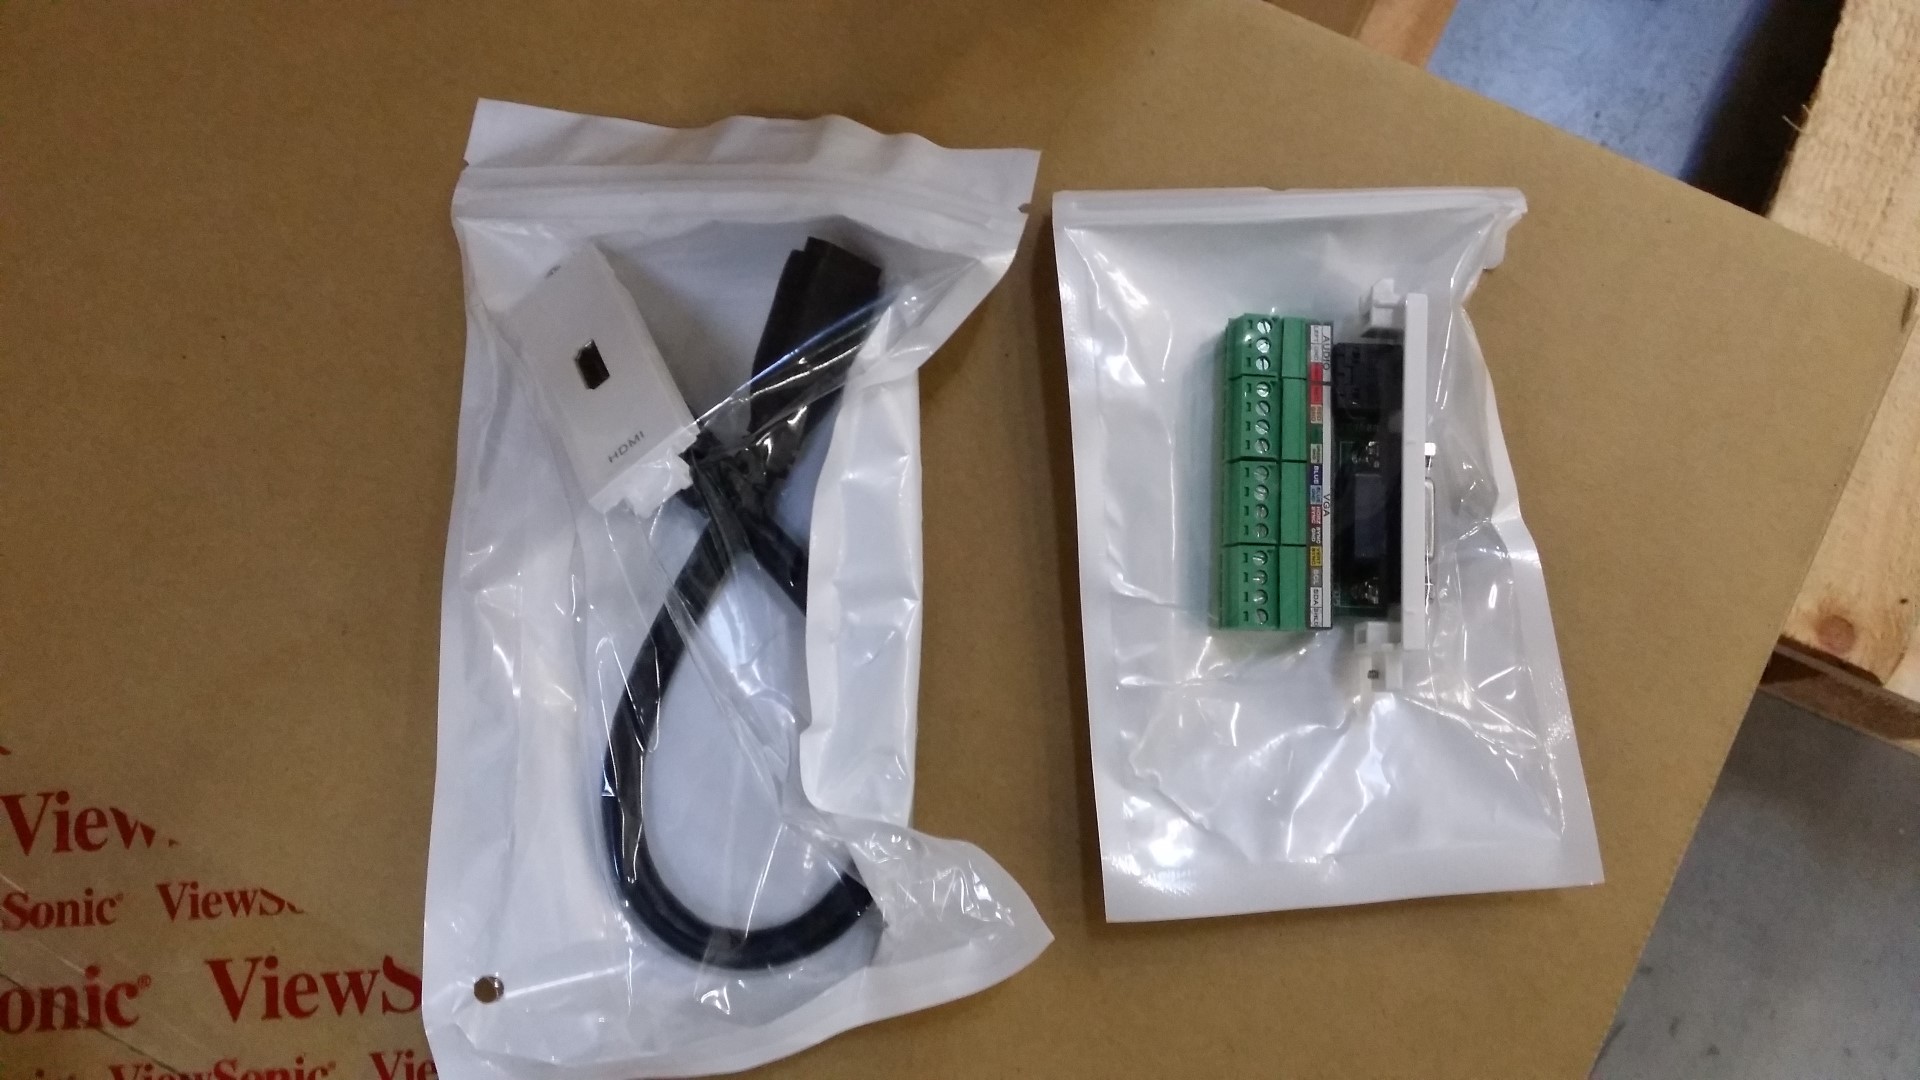
Our example kit includes a 5-slot surface-mounted box, a regular frame, and modules: HDMI, VGA + 3.5 mm minijack, and USB-B, plus two blanking plates for unused slots. In short: a typical kit used, among others, in installations with interactive whiteboards or monitors.
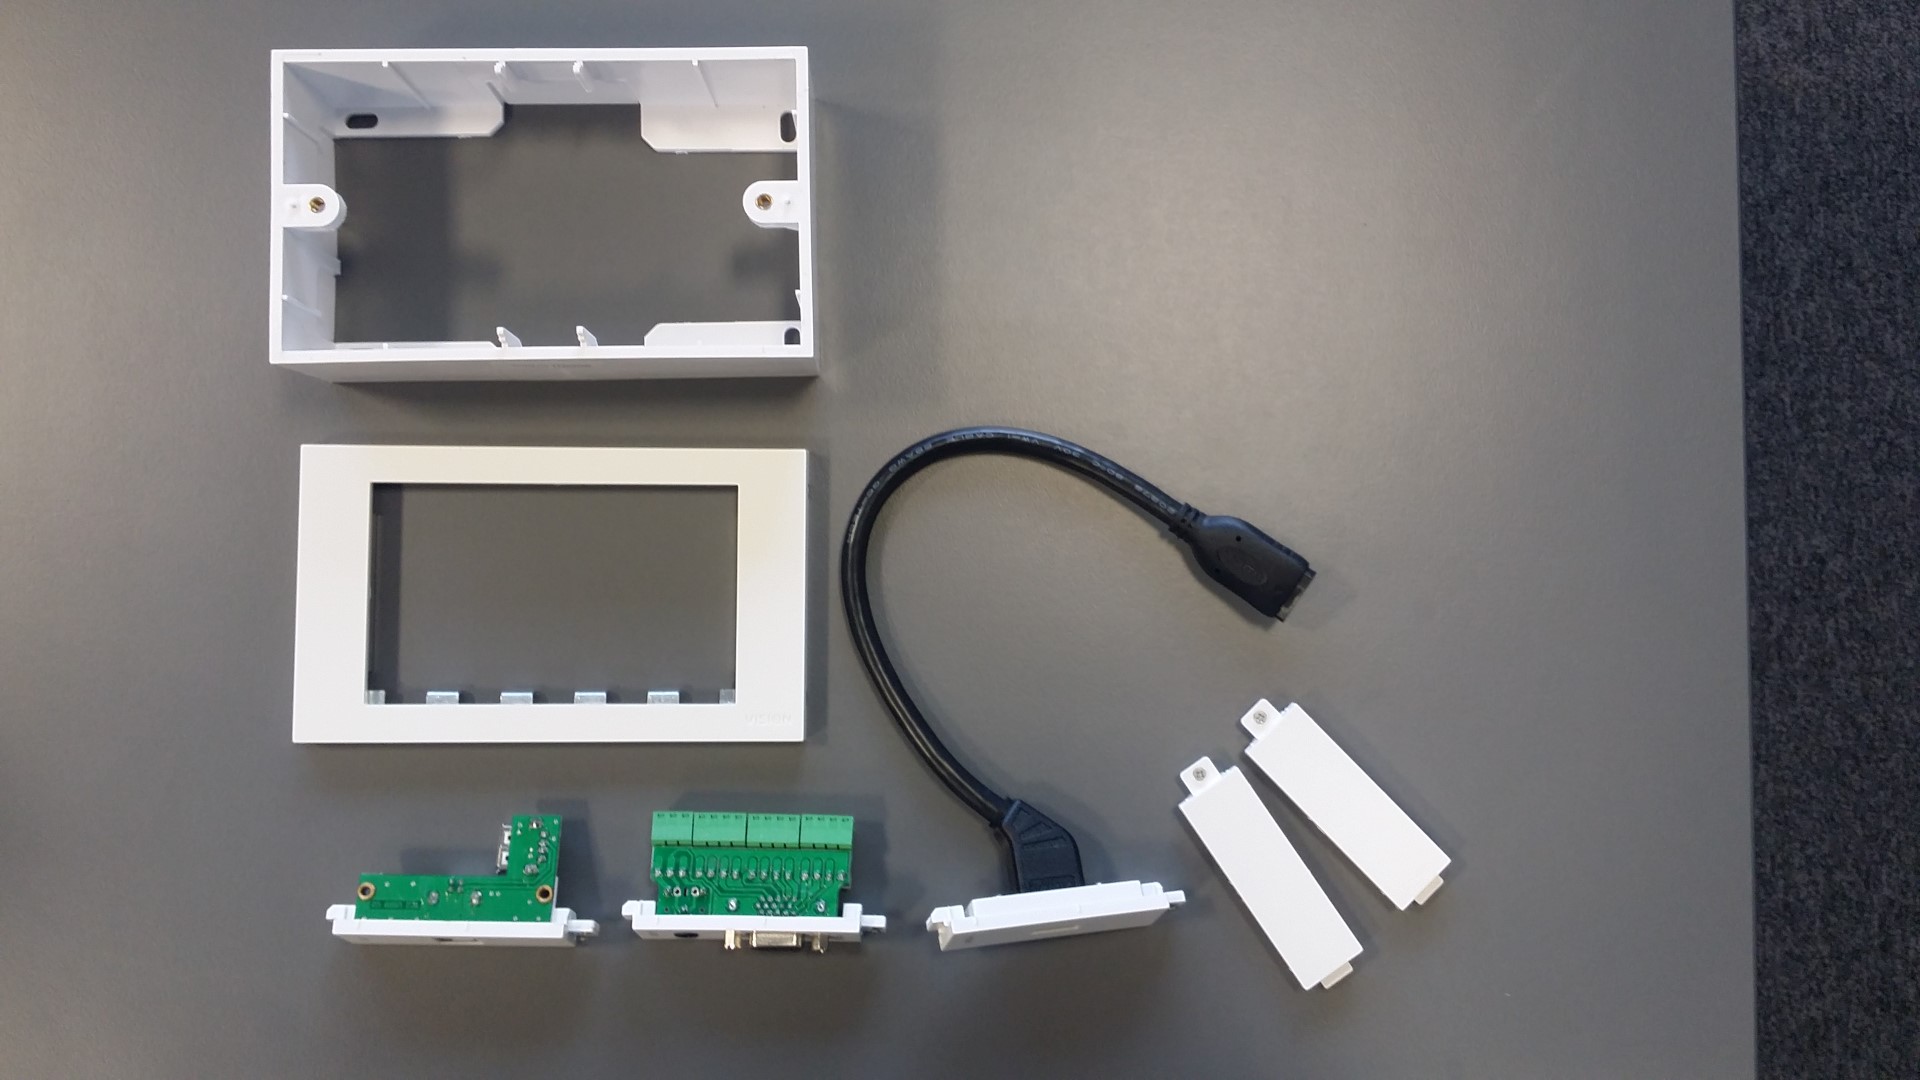
1. To start, we mount the box on the wall (in our case, the desk acts as the wall :). This is also a good time to consider introducing cables into the box if we are using modules to which we connect from the box side using terminated ends (e.g., VGA or HDMI plug). There are special places on the box to break out.
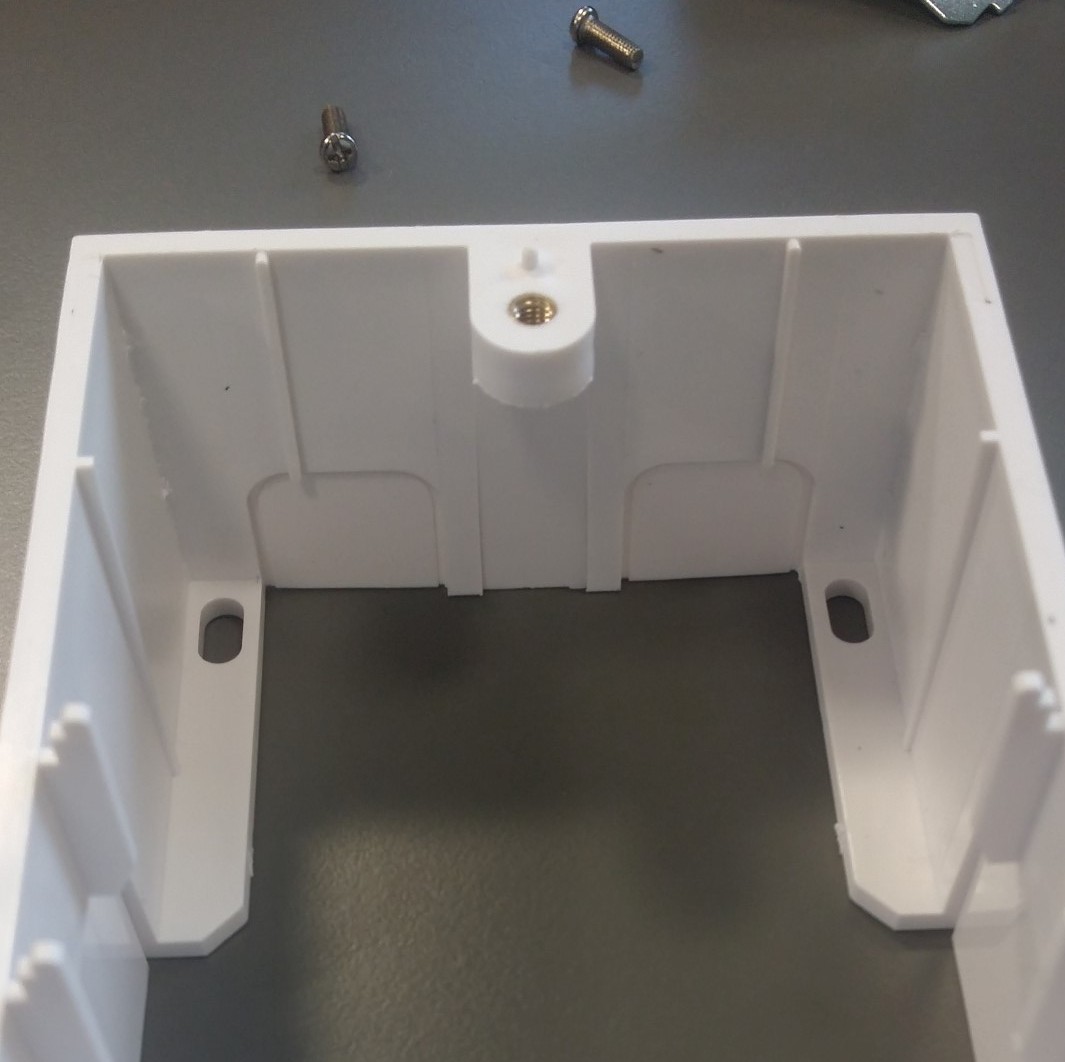
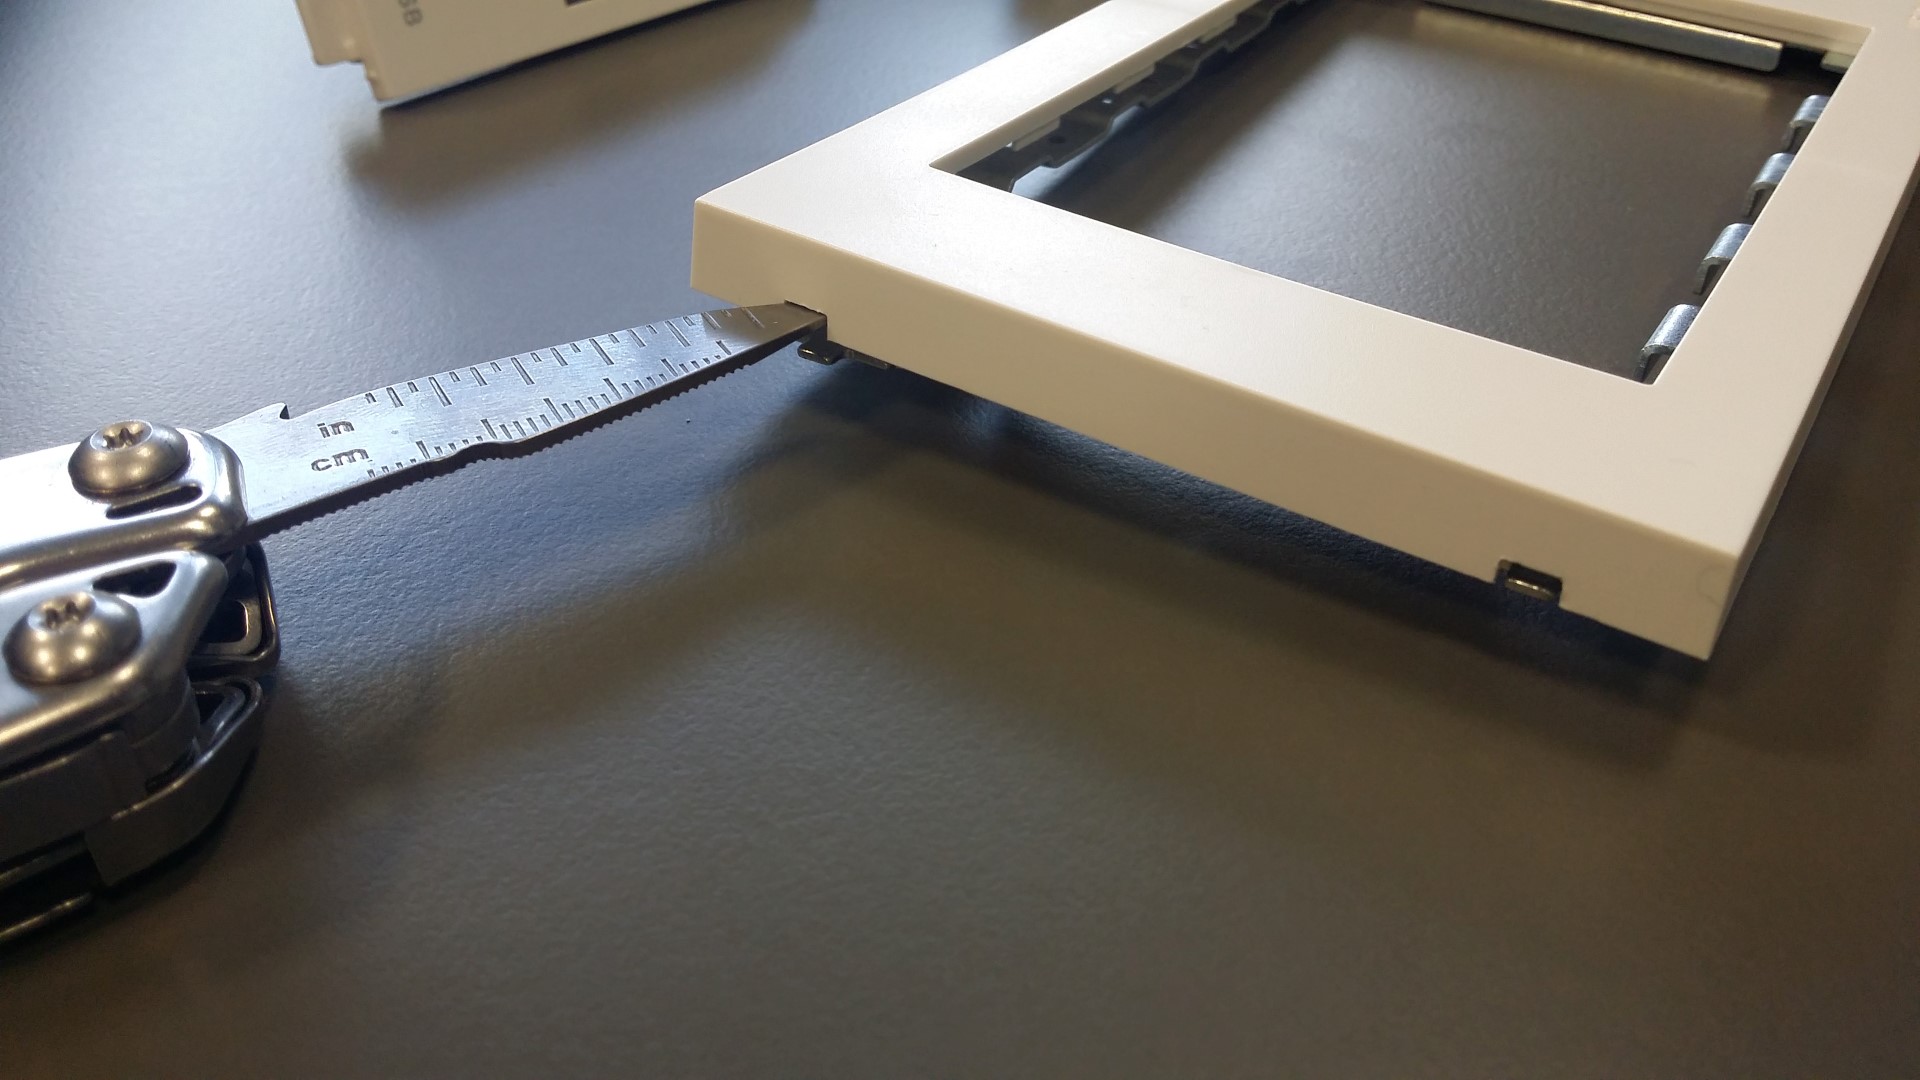
2. We separate the metal part from the frame, to which we will screw. The metal part of the frame is attached to the plastic front with snaps. We suggest using a flat-head screwdriver and gently prying the plastic in the specially designated places. It is enough to do this on one side of the frame.
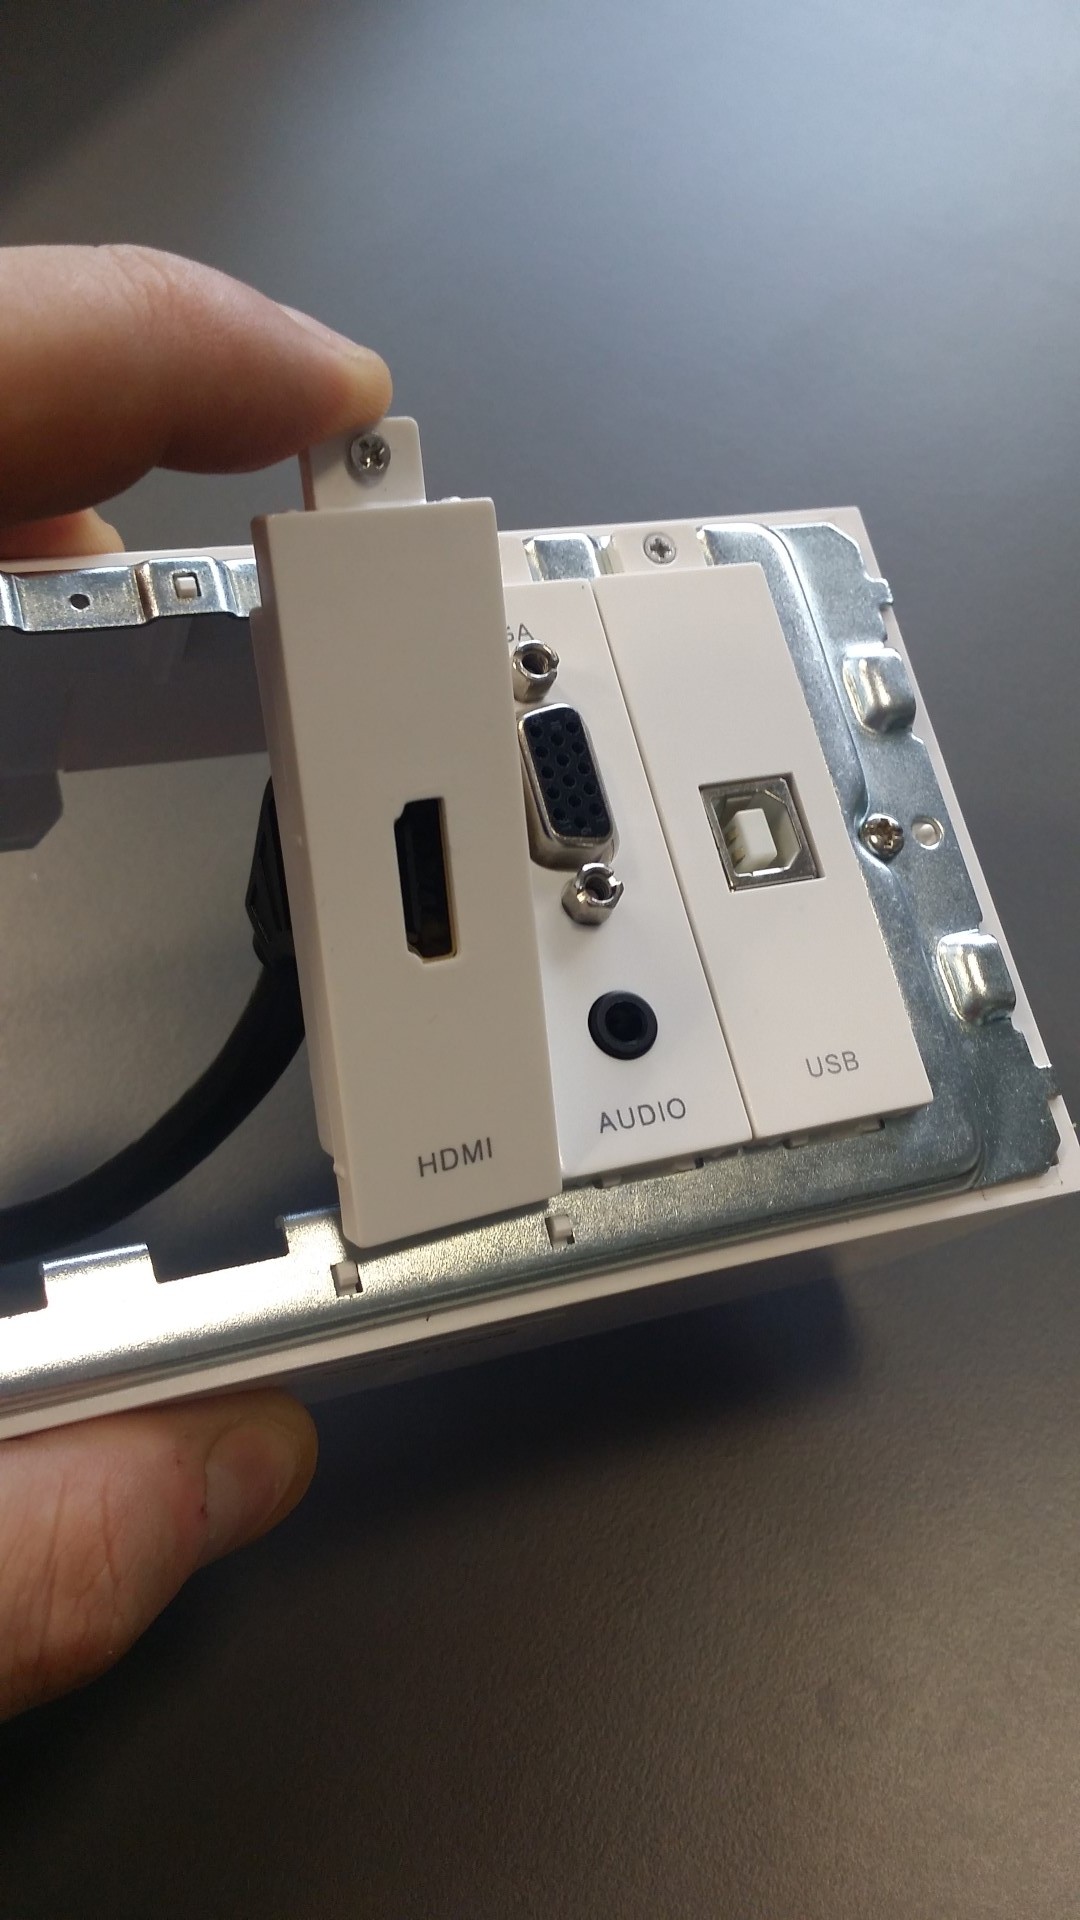
3. We can start screwing our modules to the metal frame. To do this, slide the bottom part of the module under the metal frame, and then tighten the top part with a screw.
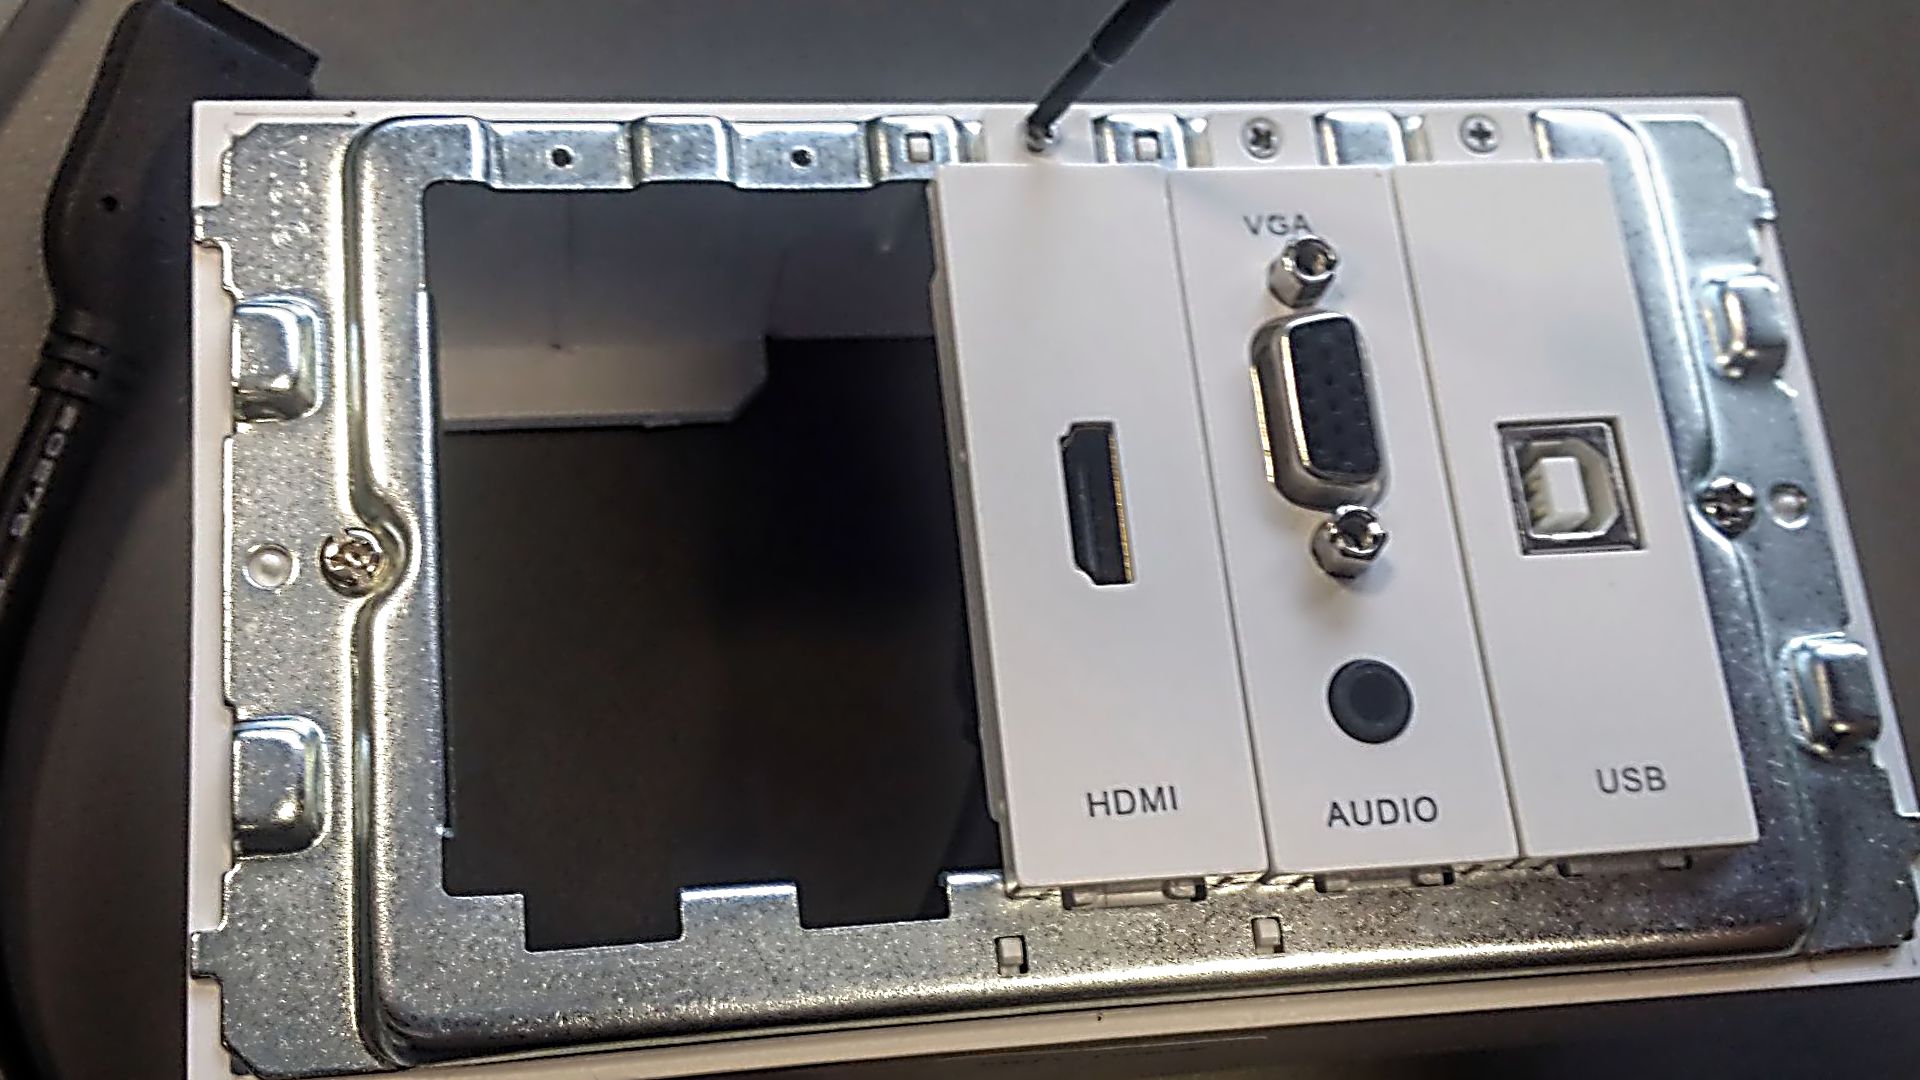
4. In the next stage, we suggest connecting the cables to the modules and testing the connection.
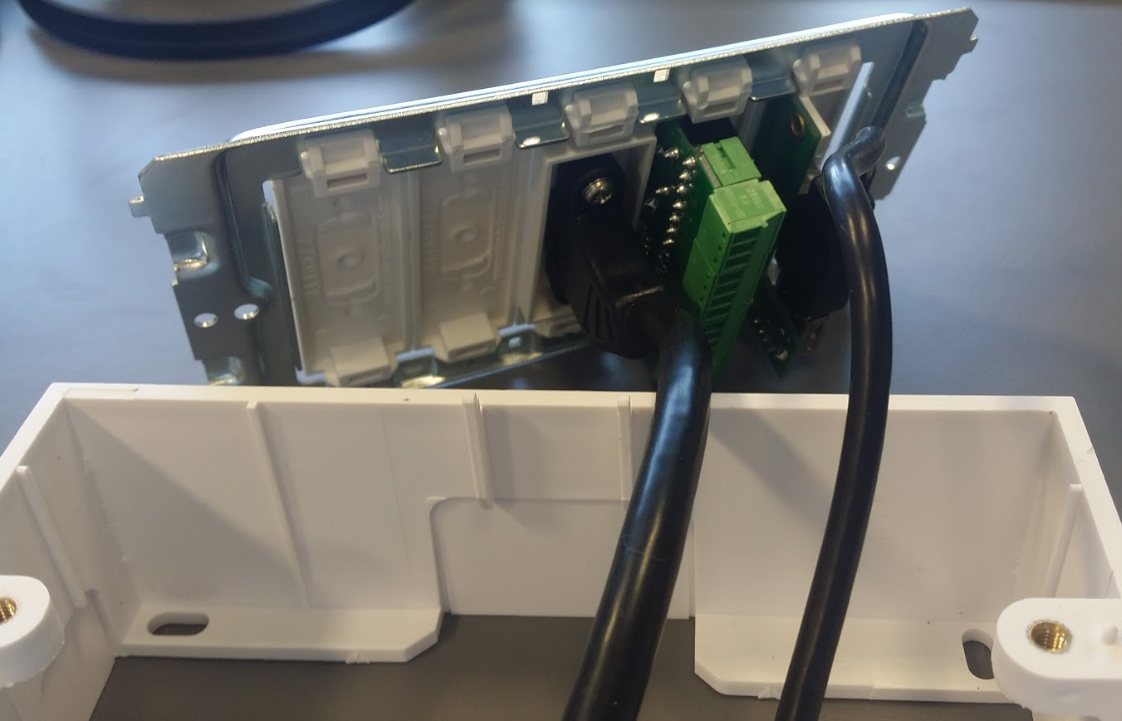
5. …and we screw the metal frame to the surface-mounted box.
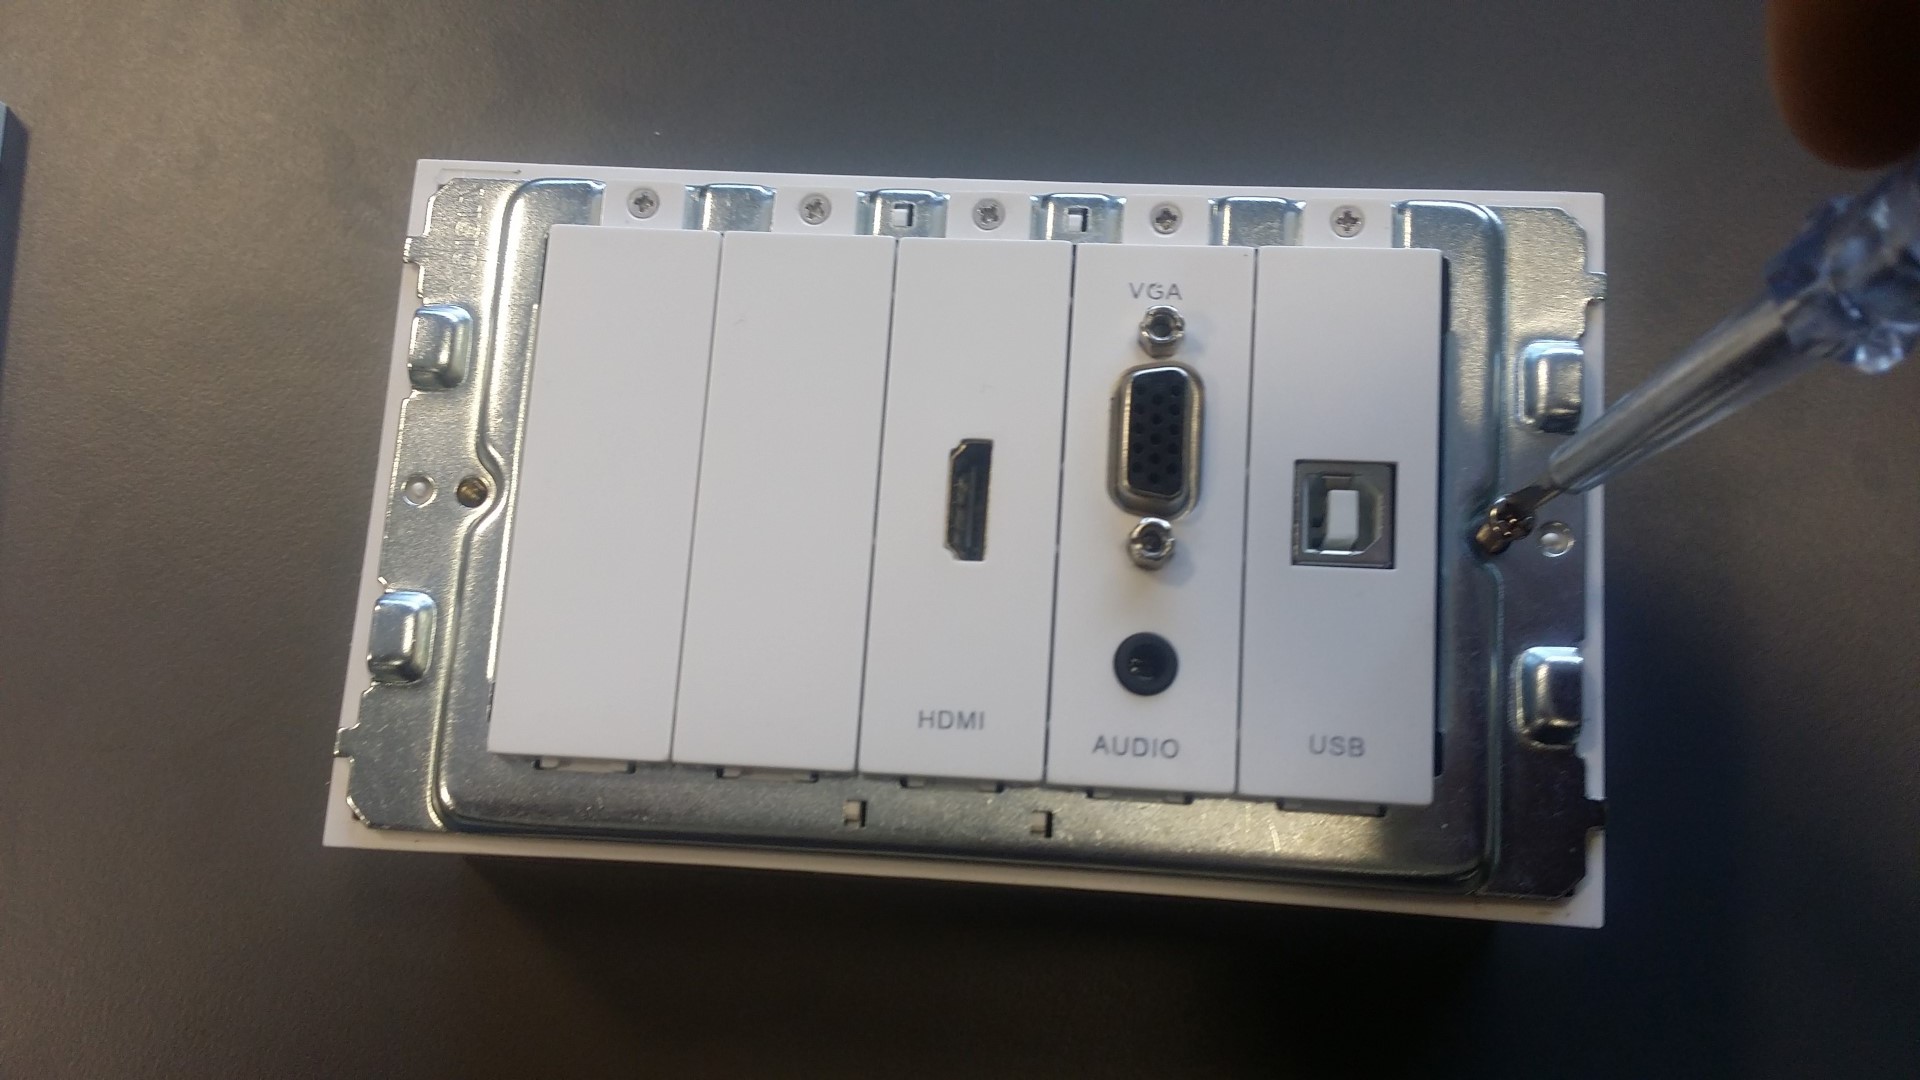
6. In the last stage, we put on the plastic cover, which is mounted with snaps. To do this correctly, first hook the plastic frame on one side, and then gently press on the other side until you hear a characteristic click.
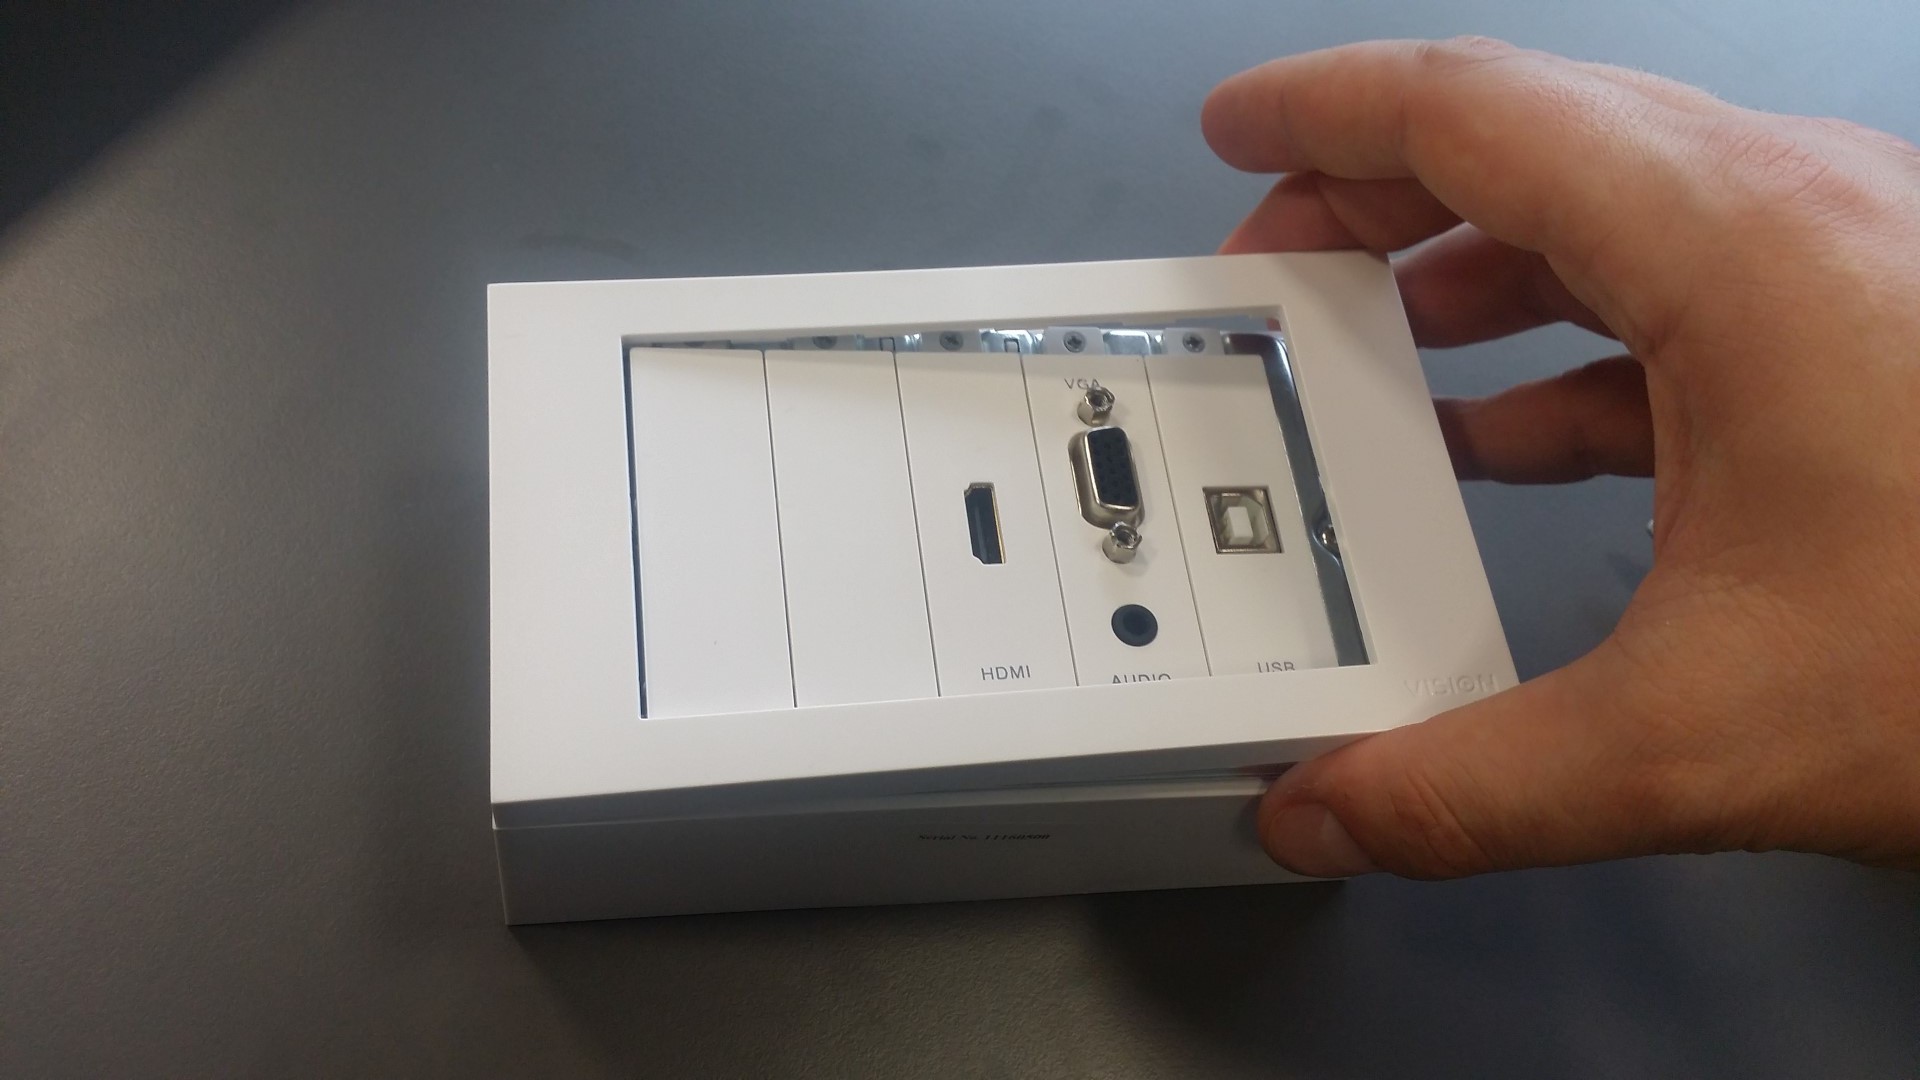
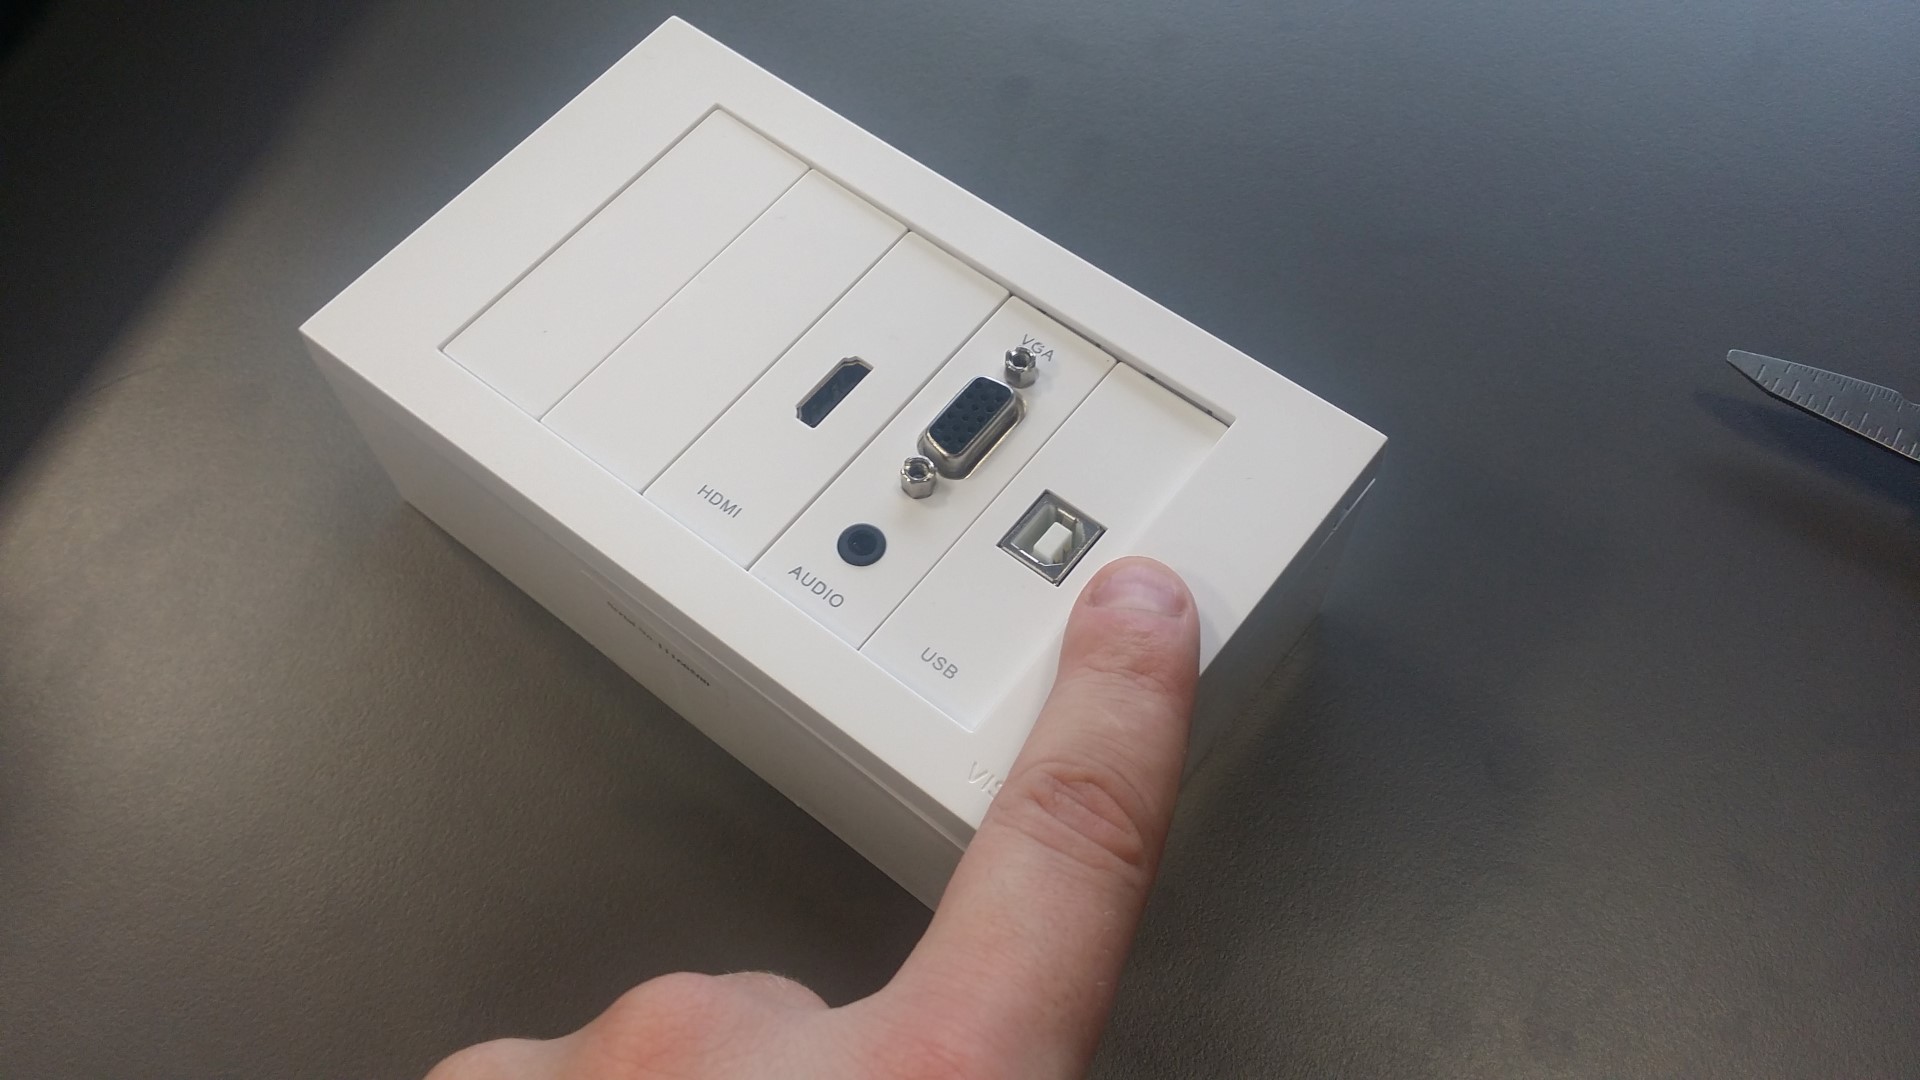
7. And that’s it! The box is ready for action! Two additional modules that are covered by blanking plates can be easily replaced in the future with additional connectors, a power connector, or, for example, a 2 x 25 W amplifier TC3-AMP – another interesting product from Vision.
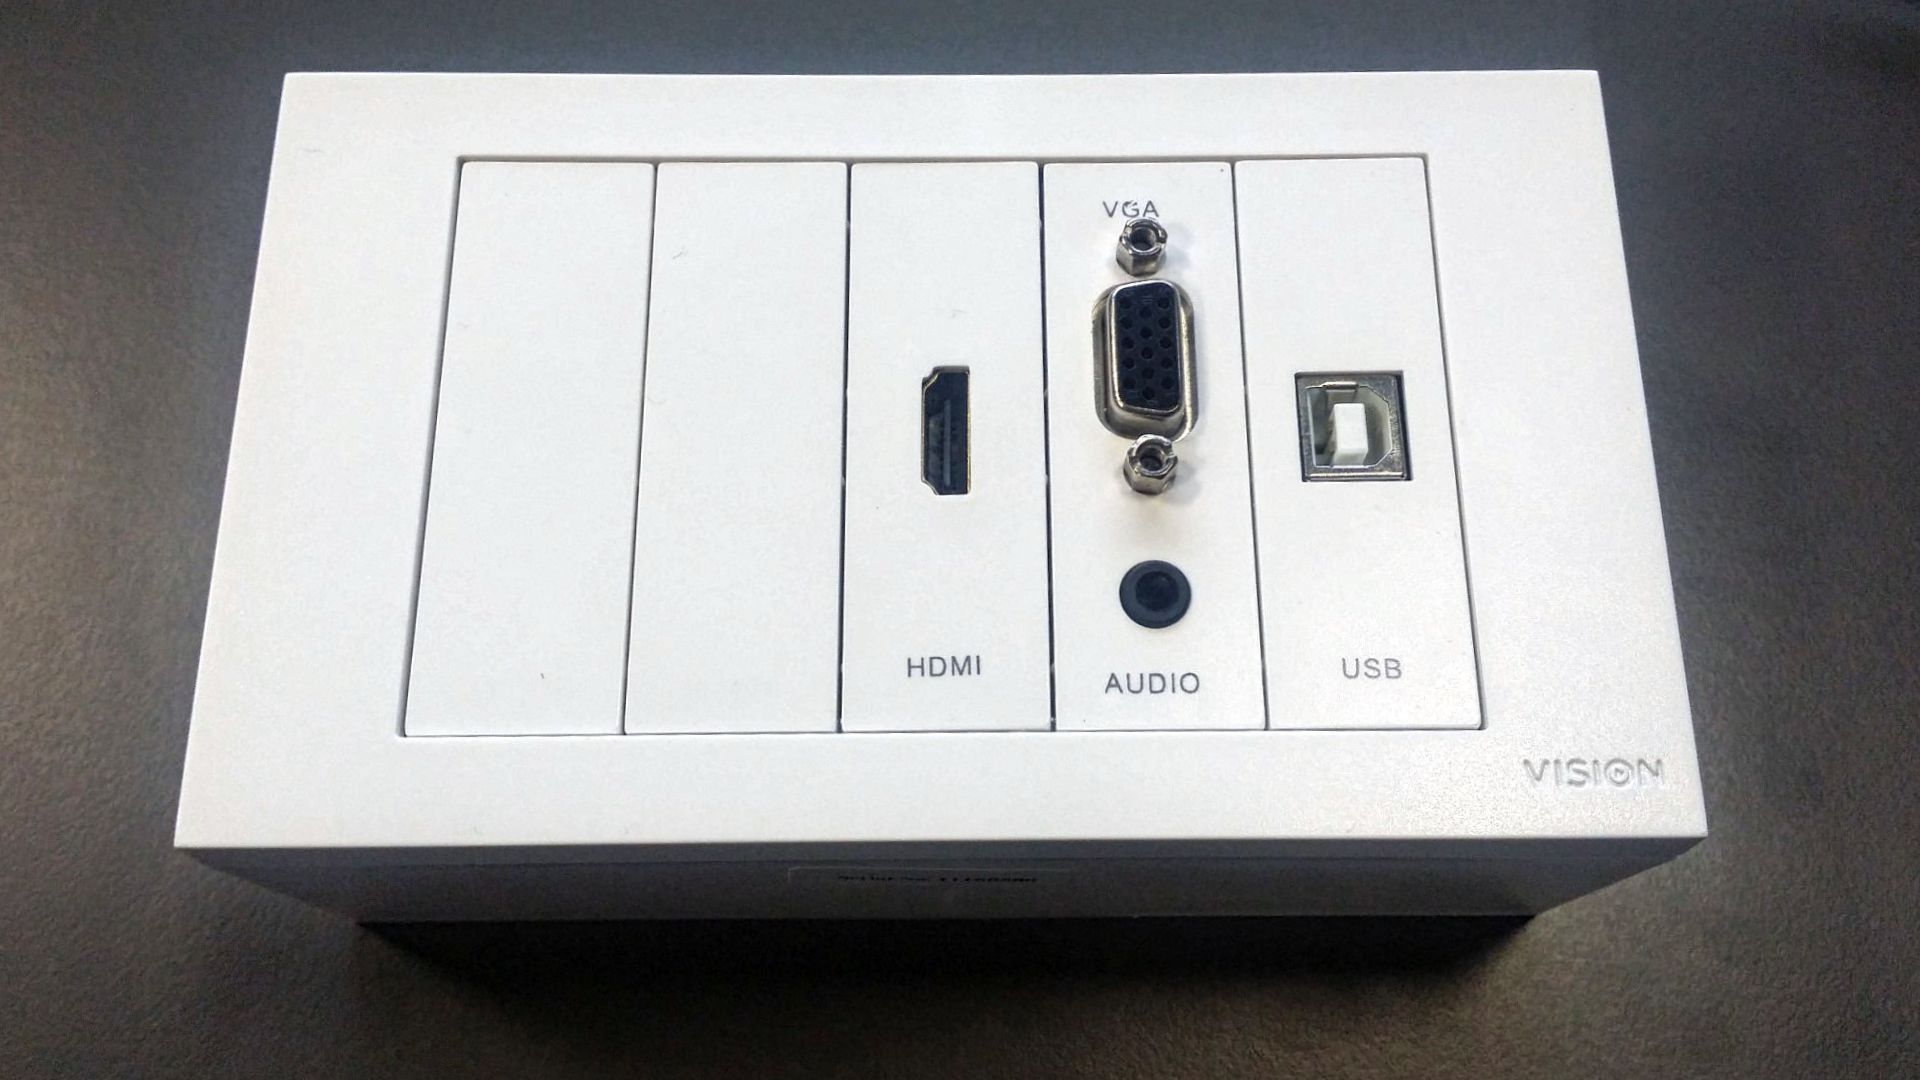
As you have surely noticed, the assembly of this type of box does not require professional technical knowledge. It is similar with later modification / replacement of modules – just detach the plastic frame, unscrew the replaced module, disconnect the cabling from it, and replace it with the target solution. This flexibility, along with the quality and large number of available modules, distinguishes Techconnect 3 in the connector management systems market.
For those who consider the above kit ideal for their needs, we have good news – it is available as one, ready-made product, the price of which is lower than if you were to purchase all the kit elements separately.