
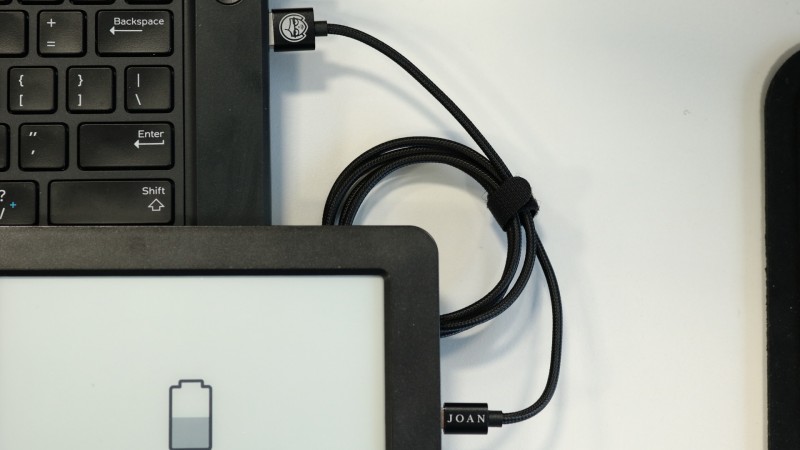
Joan – basic configuration

Today we are taking a look at the configuration of the Joan room booking system. We will try to show in a few (or more) paragraphs how simple it is to configure this device to see it in action.
1. Preparation
That is, a list of necessary items:
- Joan device
- USB – MicroUSB cable (included with Joan)
- Computer (Windows system)
- Wi-Fi network with internet access (a phone hotspot can be used)
- Joan Configurator software (download here: Joan Configurator)
- Access to the Joan portal (we describe how to obtain it in a later stage)
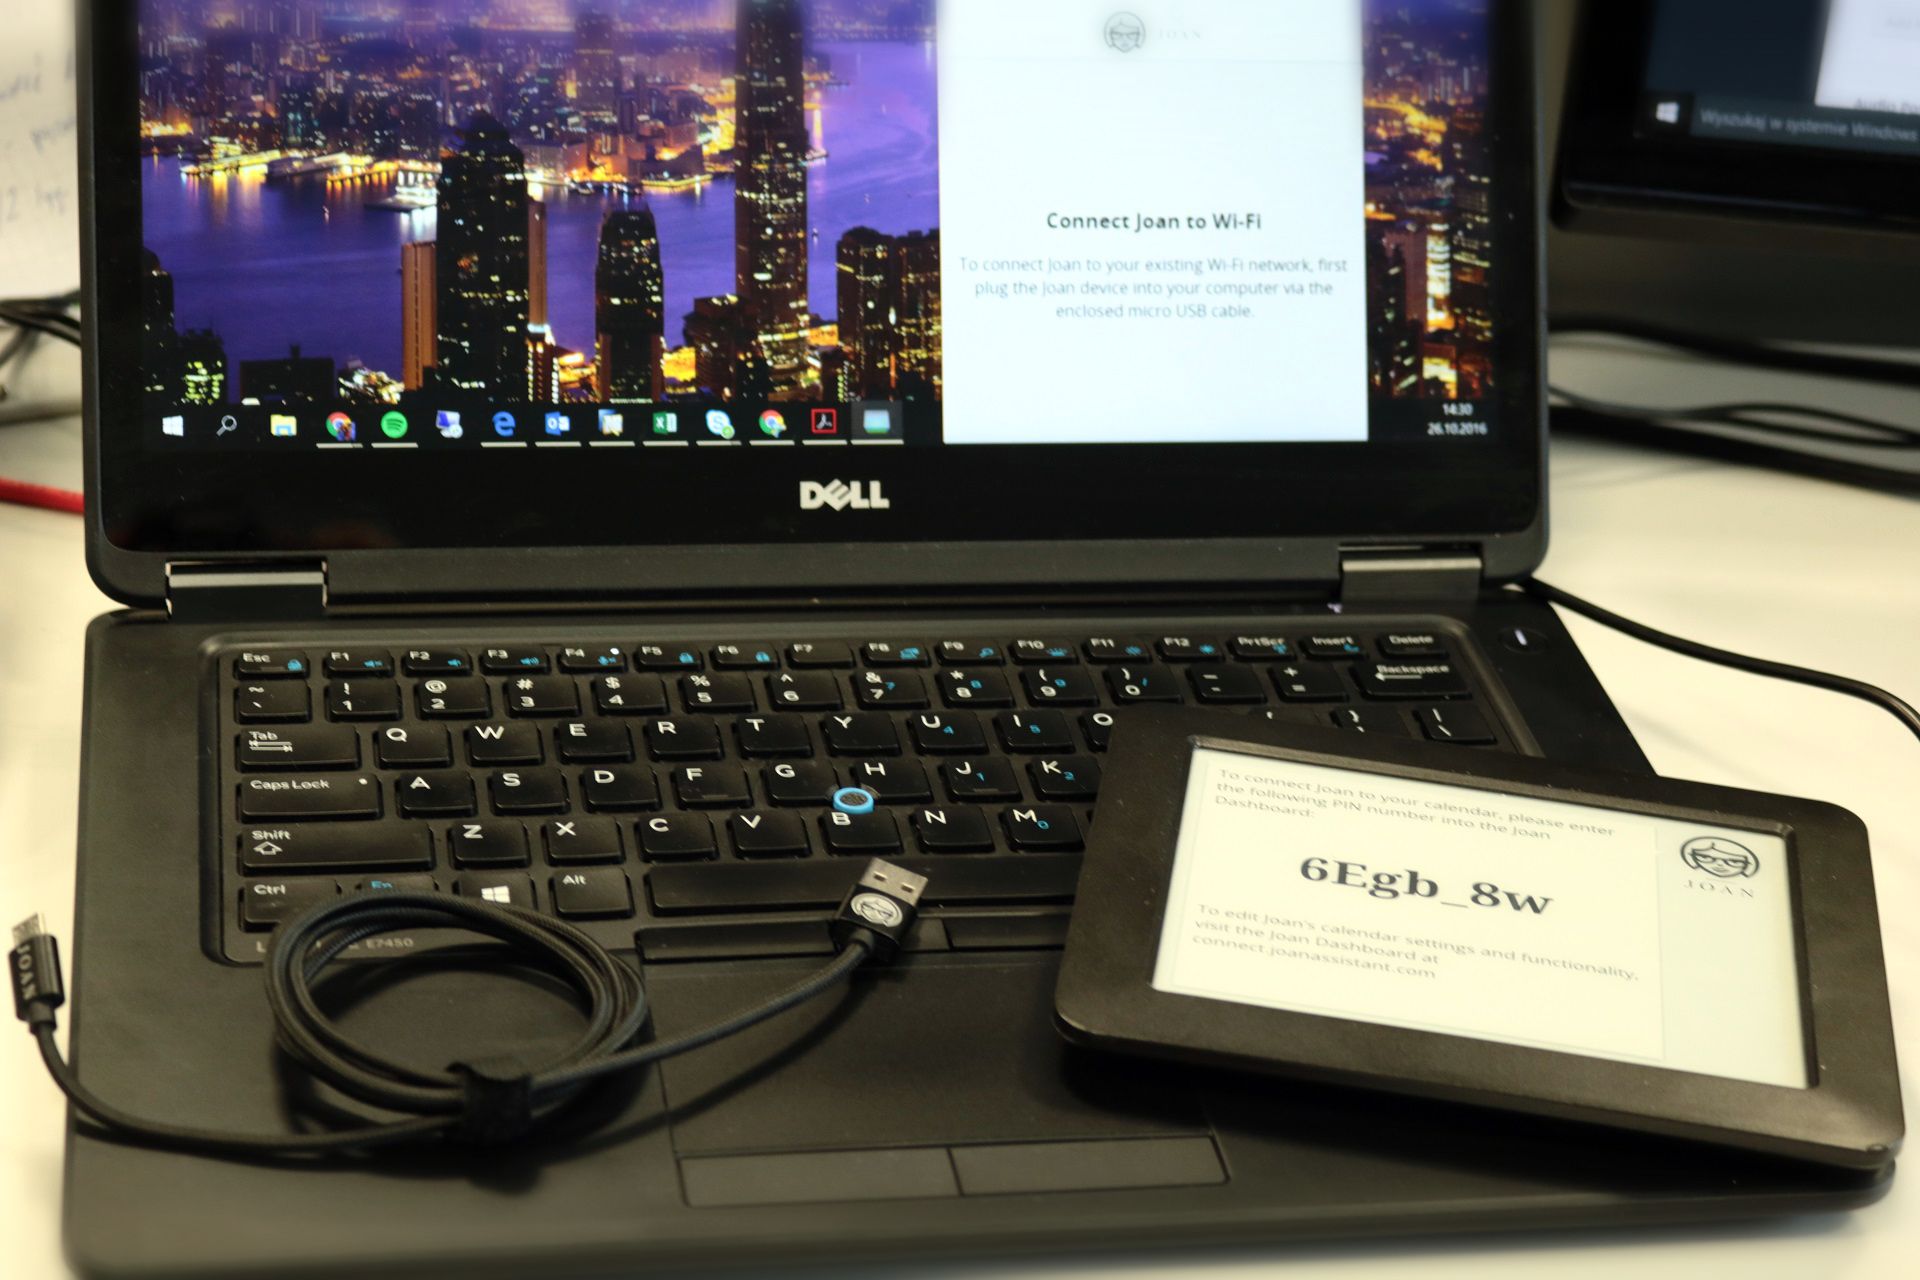
2. Configuring the Wi-Fi network on the device
- To add our Joan device to the Wi-Fi network, you need to download and run the Joan Configurator software.
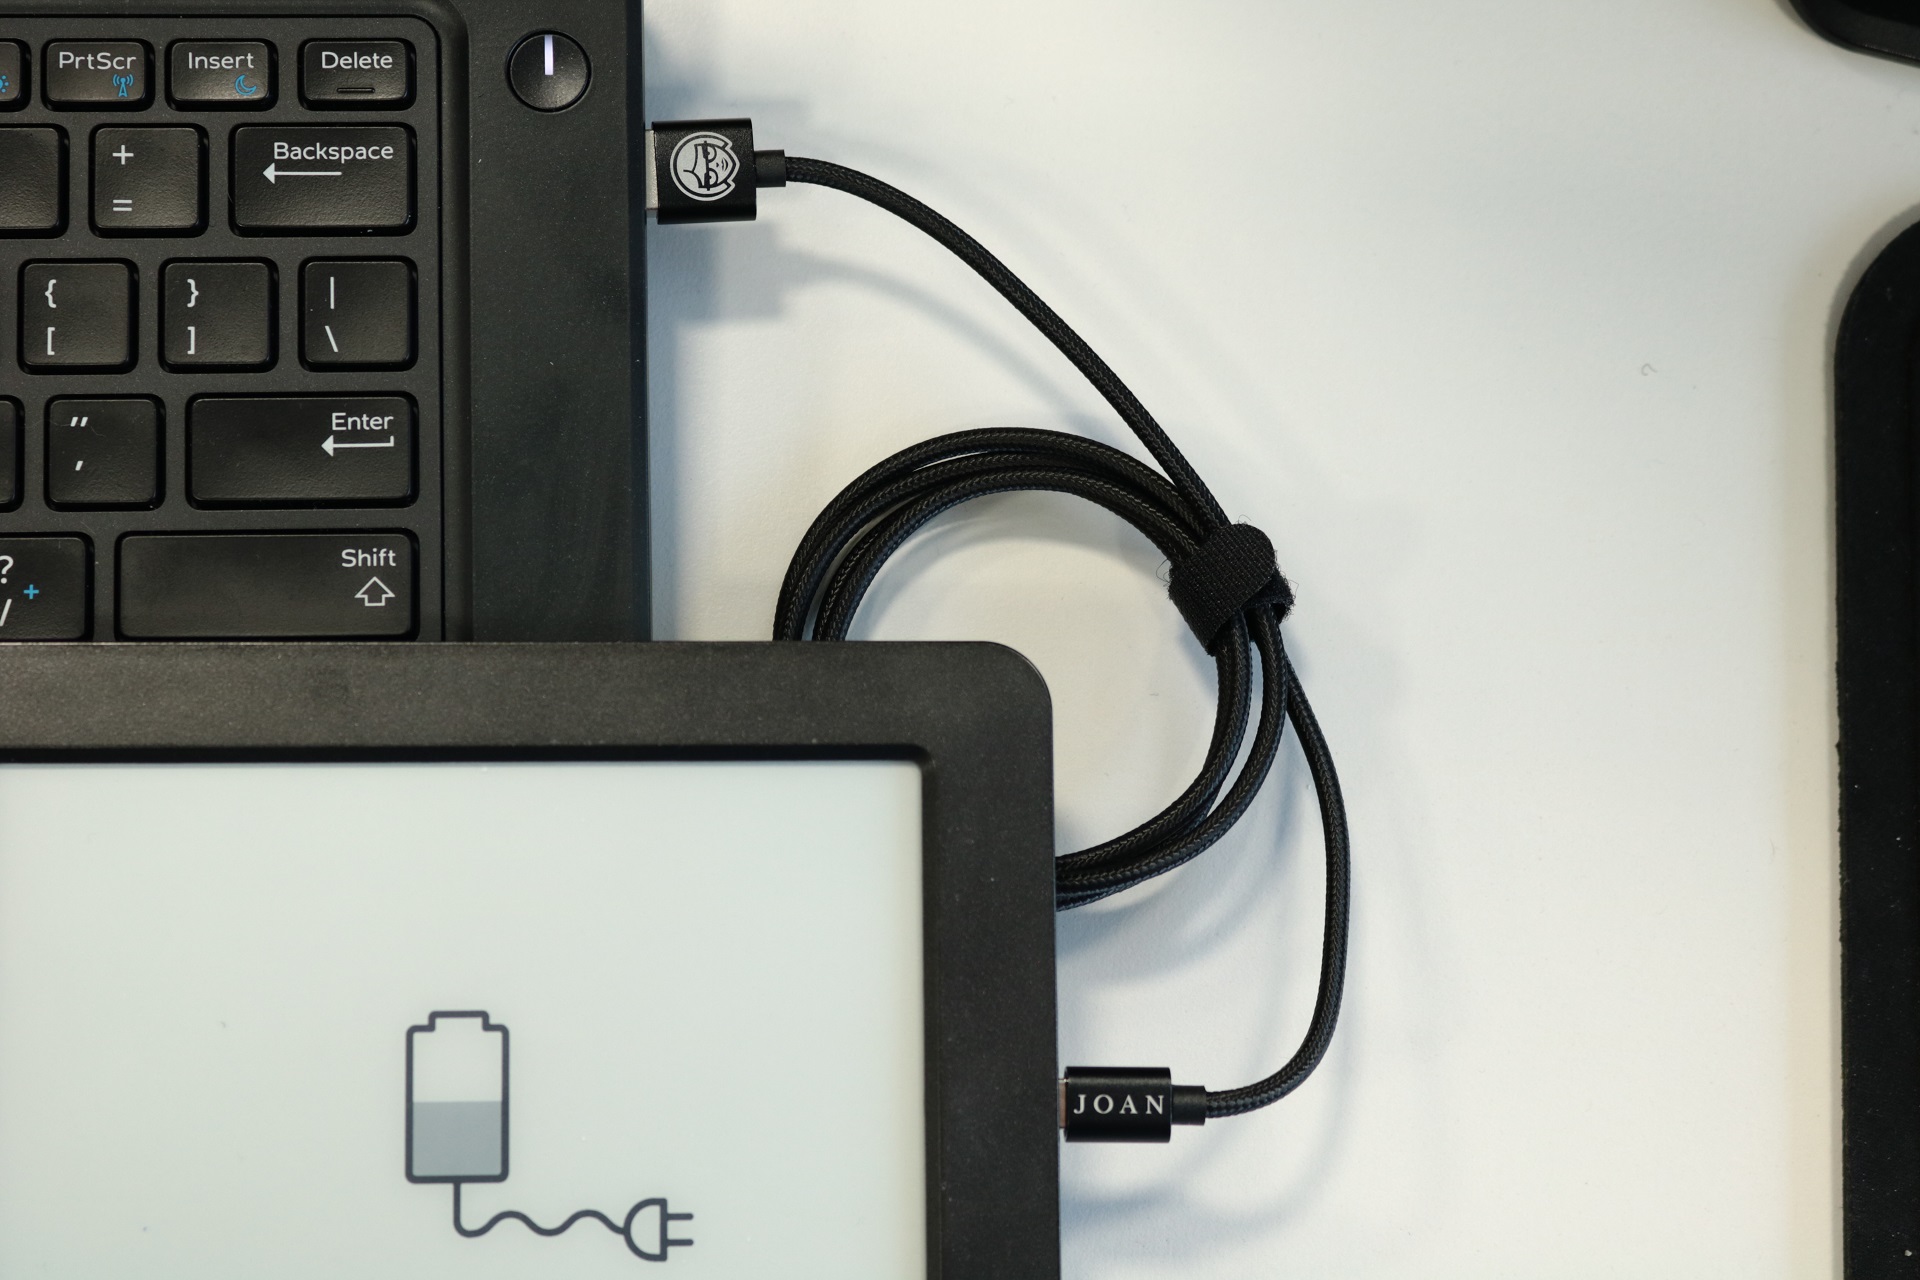
- Next, connect Joan to the computer using the microUSB cable.
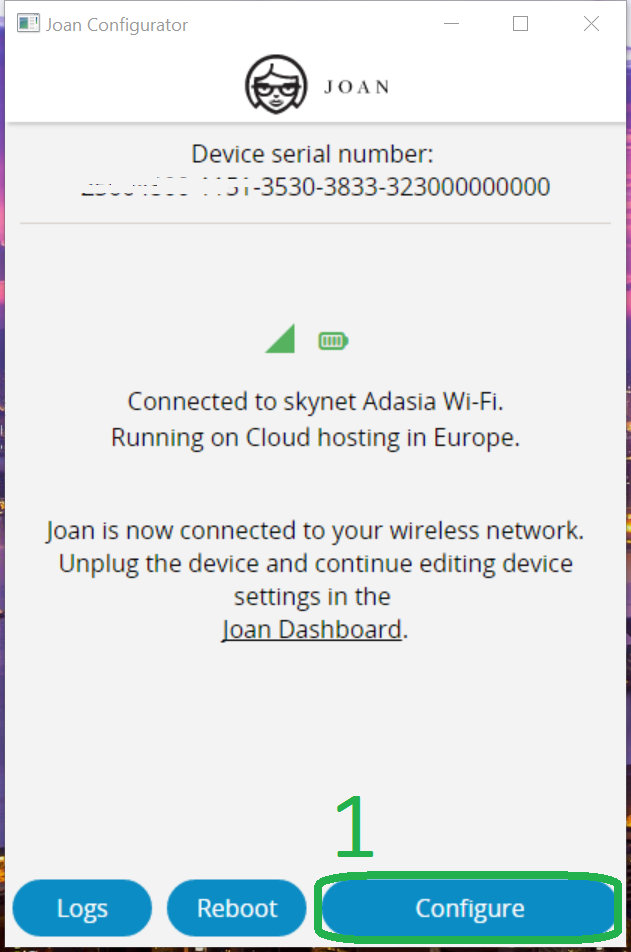
3. After a moment, the device should be detected by the Joan Configurator software. If there are problems, you can try to shake the device slightly (motion sensors should wake up the device). Then, in the software, click the Configure button (1).
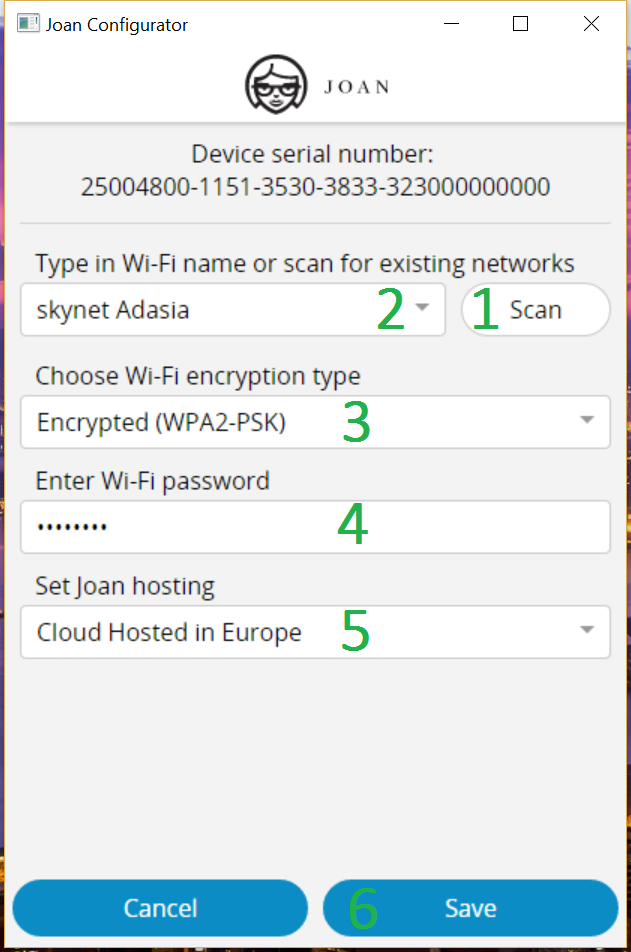
4. In the next window, you must do the following:
- Press the Scan button to see which networks are available (yes, the network you want to connect Joan to must be in range).
- After scanning available networks, select the network you want to connect to from the drop-down menu.
- Here, select the Wi-Fi network security type. If the network is password-protected, in most cases it will be WPA2-PSK.
- Enter the Wi-Fi network password.
- Select the hosting server – for presentation purposes, we suggest choosing the cloud server in Europe (the same as in the screenshot).
- Finally, click the Save button to save the settings to the device.
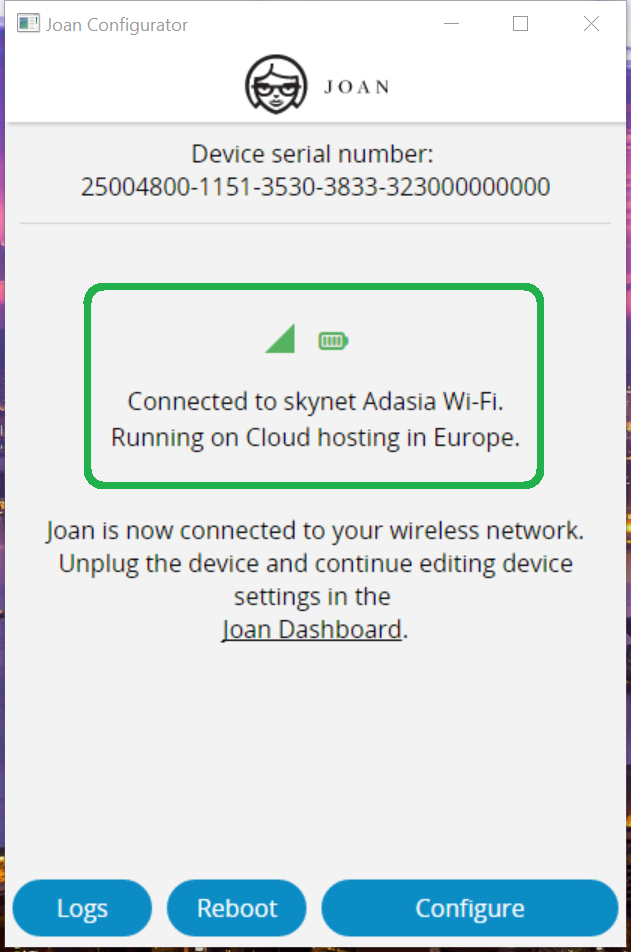
5. Our device is connected to the Wi-Fi network; you can disconnect it from the computer and close the Joan Configurator software.
In case of errors, configure the device again and make sure that:
- the password is correct
- the network is in range
- the network has internet access
- the network does not block devices connecting via DHCP
3. Configuration on the Joan portal
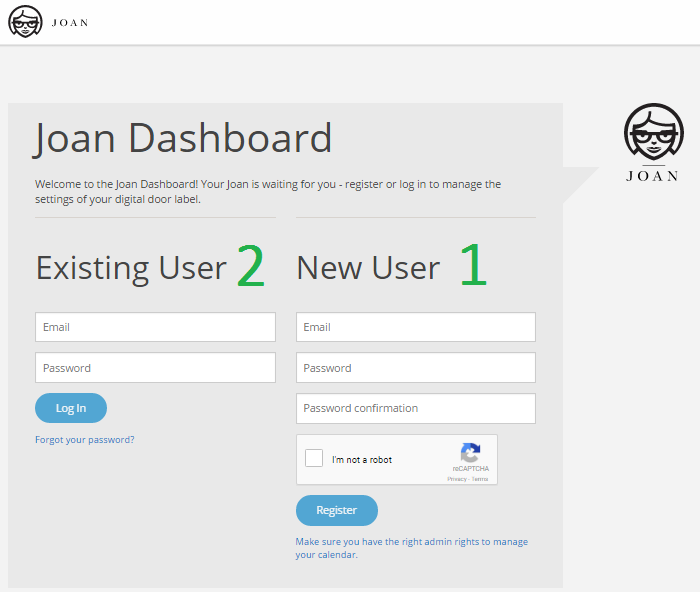
To start, go to the Joan portal
- If you do not have an account, you can easily create a free account, which will give you access to a 14-day trial version allowing for cloud installation. During this period, Joan devices can be installed on the cloud server and tested with any configuration.
- If you do not want to create an account, we can provide access to our test account with a trial configuration. Please contact us.
Welcome screen
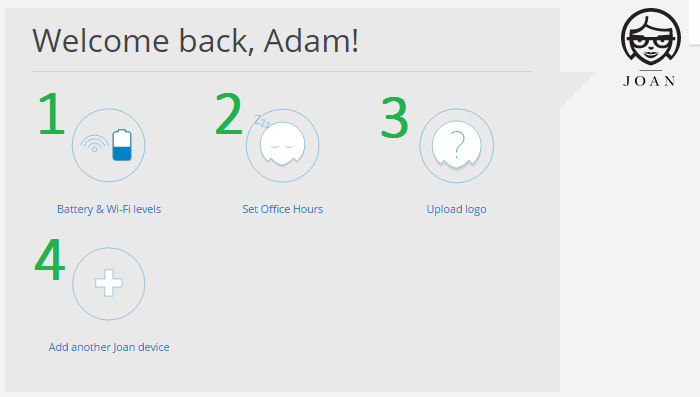
From the welcome screen, we can quickly go to basic options, such as:
- Monitoring the status of already connected devices.
- Setting Joan’s working hours.
- Uploading a logo visible on the display of each connected Joan device.
- Adding new Joan devices to the configuration <- select this option.
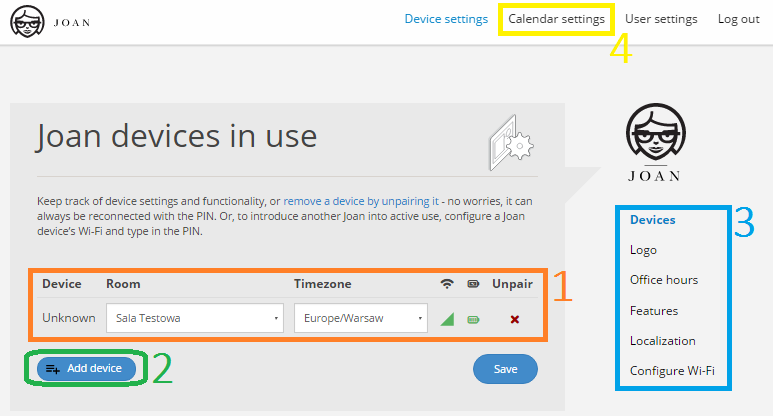
Connected devices management center
- All already connected devices are visible here.
- Click here if you want to add a new device, but more on that in a moment.
- On the right side, there are shortcuts to key settings.
- Here is the menu where we add conference rooms that we want to manage using Joan devices. <- let’s go here.
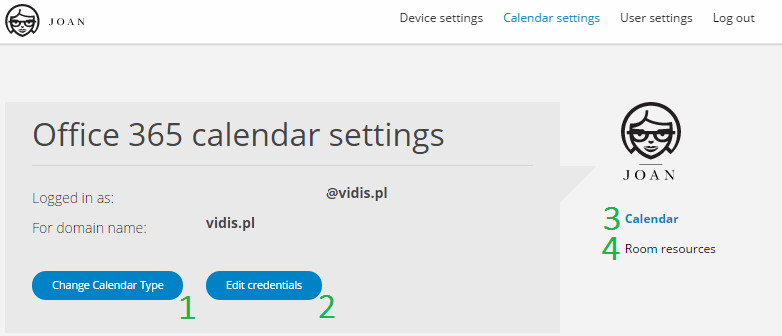
Calendar and conference room management center
If you are using a demo account, there is no need to change any settings here. However, if you want to add your own settings here, follow the instructions below..
- First, select the type of calendars you want to support. In our case, we select Office 365 – Delegated User. In the next step, after selecting the calendar type and clicking Continue, you will be asked to provide the login and password for the Office365 account. If you are using a demo account, there is no need to change any settings here.
- Here you can edit the login and password for the administrator account, e.g., in Office365 calendars.
- Here we are.
- This is exactly where we can add conference rooms that will be supported by Joan. -> let’s go here.
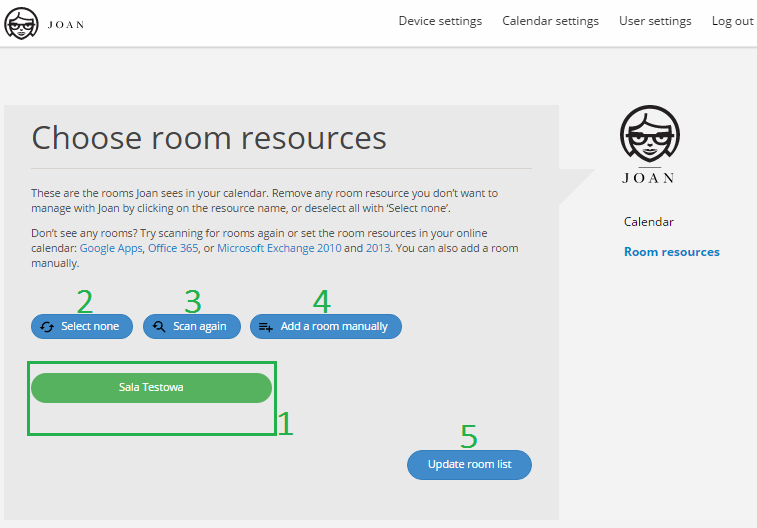
Conference room addition screen
If you are using a demo account, there is no need to change any settings here.
- List of currently available conference rooms.
- Button used to deselect rooms on the list.
- This button is used to scan the administrator account to find conference rooms that it can manage.
Adding conference rooms from the Choose room resources level
- Scan available conference rooms using the Scan Again (3) button.
- If no room appears after scanning, you can try to add a room manually using option 4. You will need to know the email address assigned to the conference room account.
- After adding a room, it will appear on the list of available rooms (1). Select the rooms you want to manage using Joan, and then click the Update room list (5) button.
Adding a device to the device list
- At this stage, we should already have the Joan device connected to the Wi-Fi network, and a special PIN number should be displayed on the screen. As below.
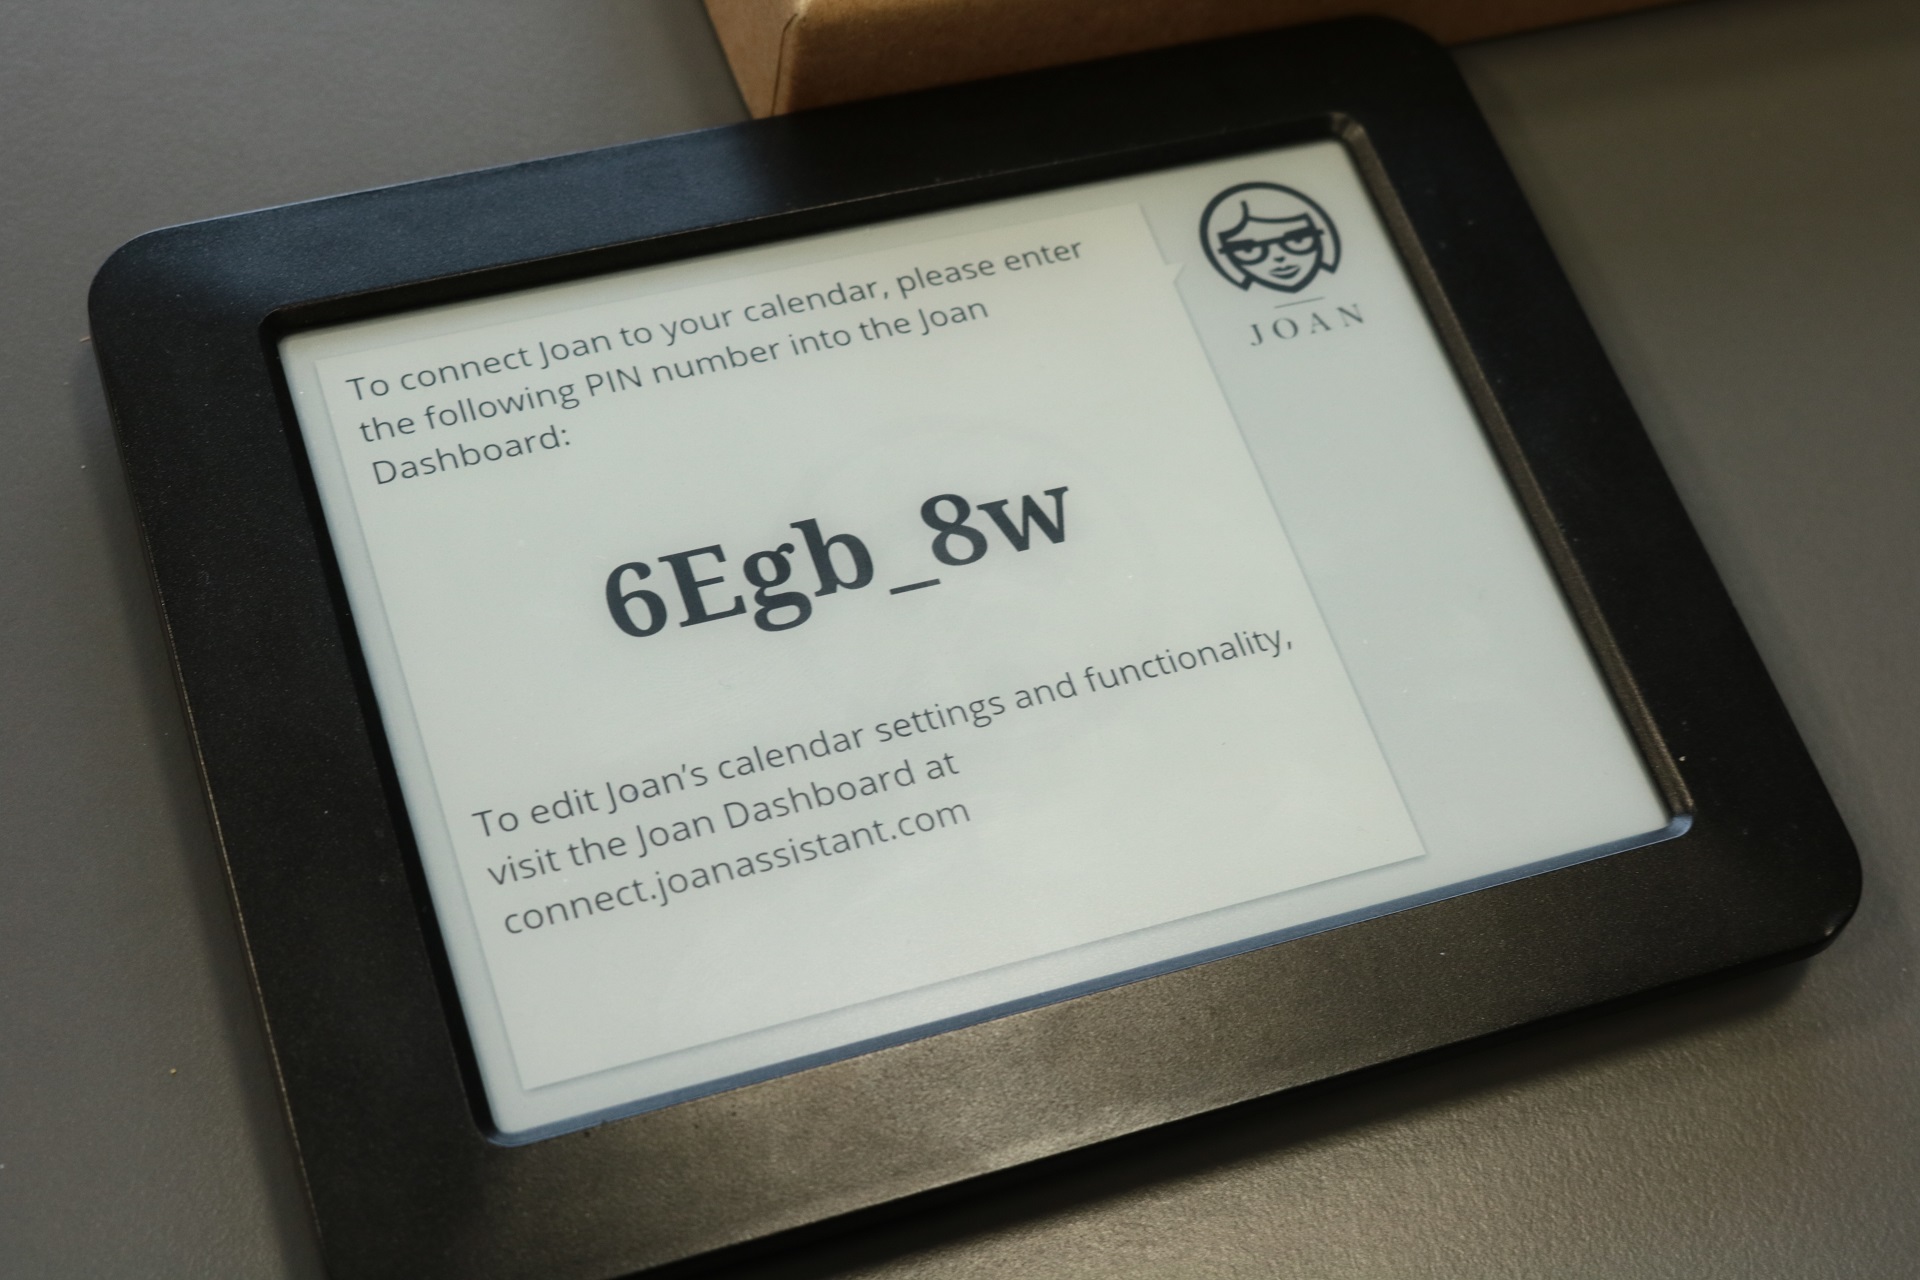
2. In the Joan portal, go to the device management screen.
3. Click the Add device (2) option.
4. In the window that appears, enter the PIN code from the device screen (case-sensitive).
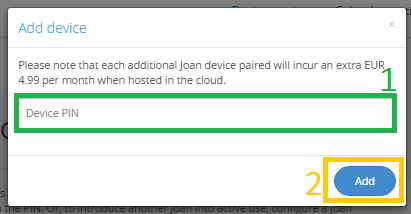
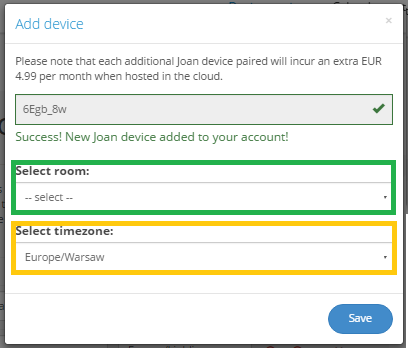
5. In the next window, we have the option to assign a conference room to this specific device and, of course, the time zone. Finally, click Save.
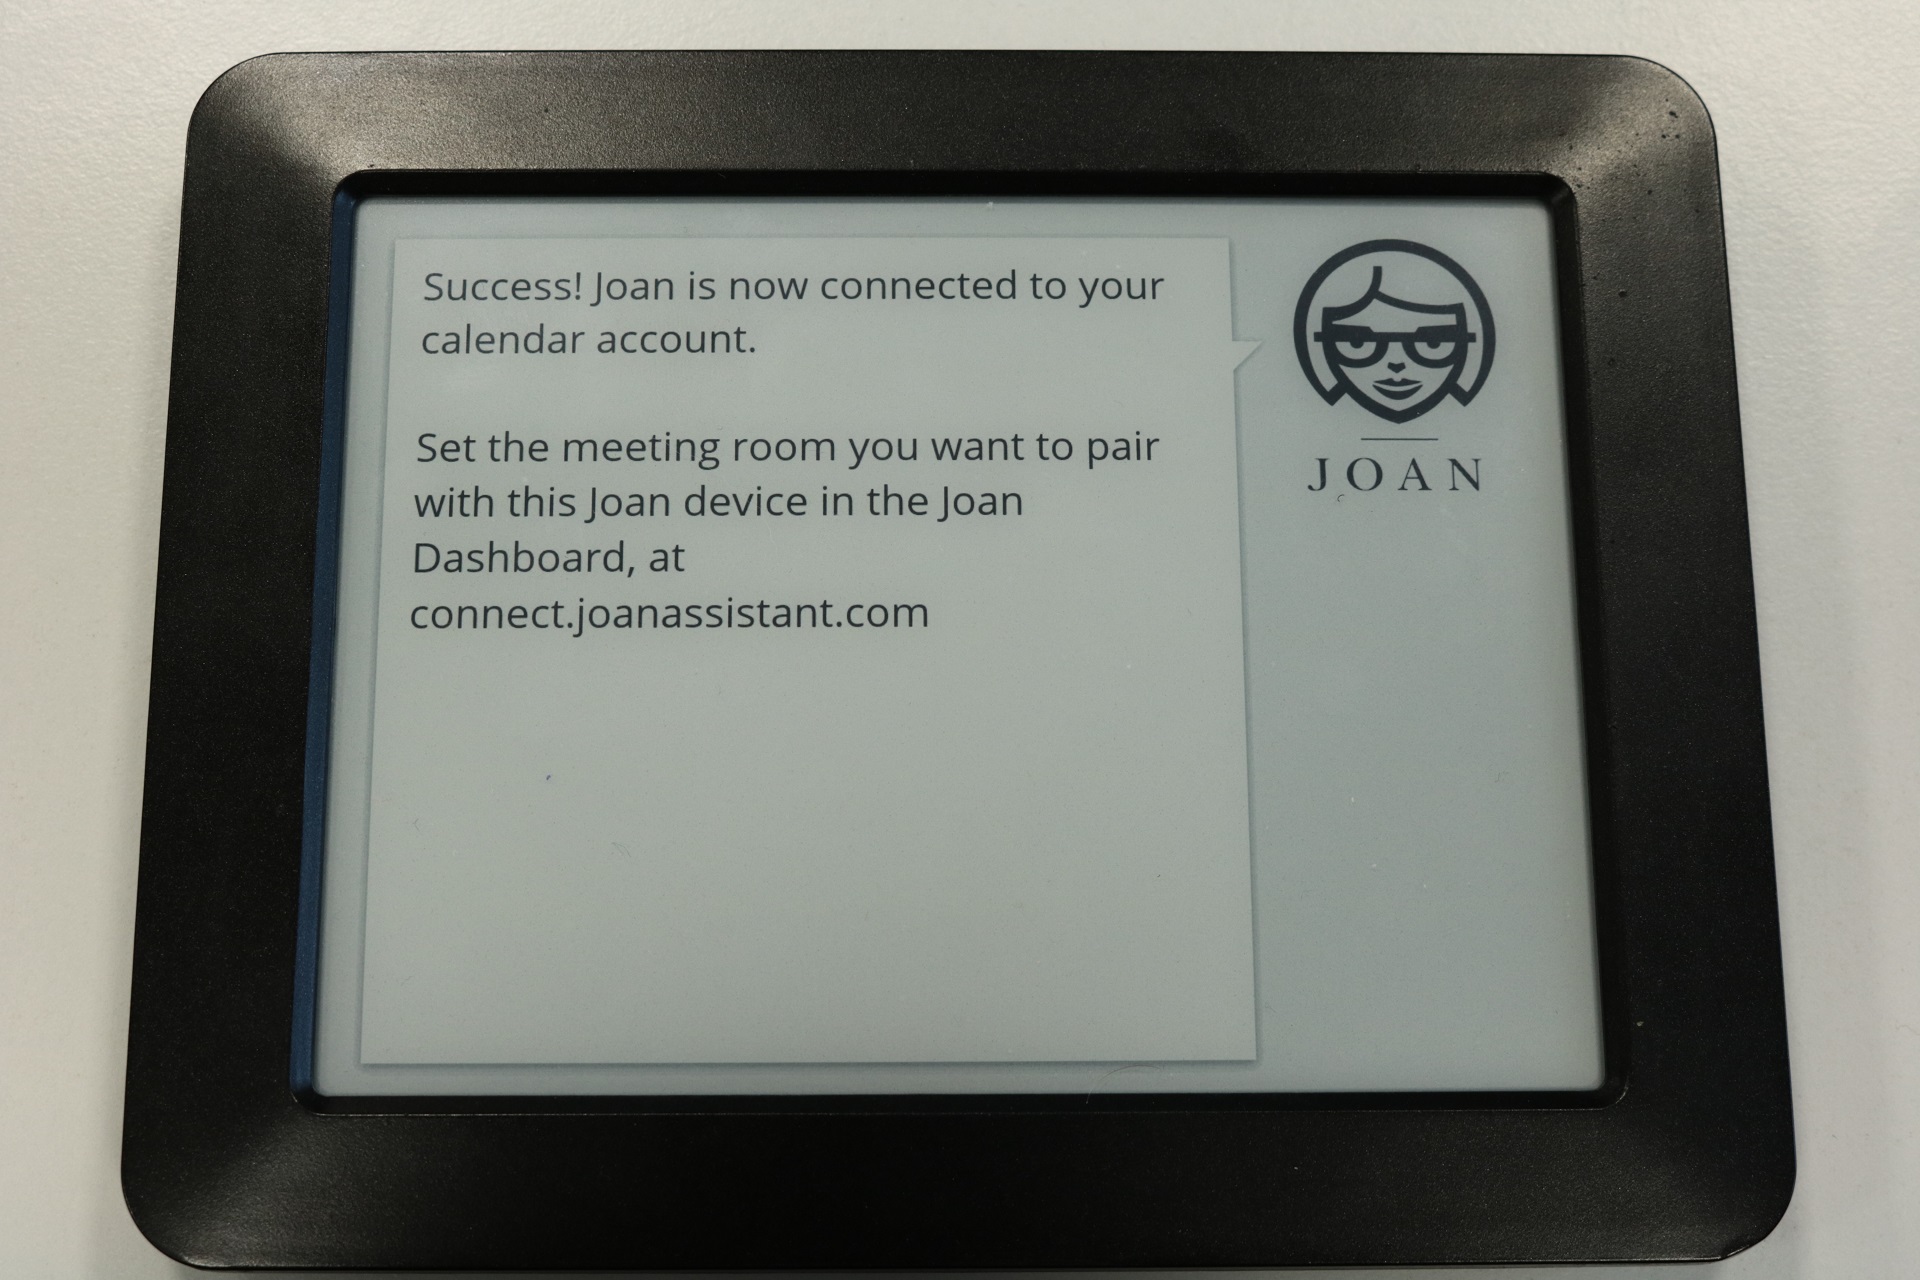
6. The device screen will update after a few seconds, showing the message below. Then it will switch to standard operating mode.
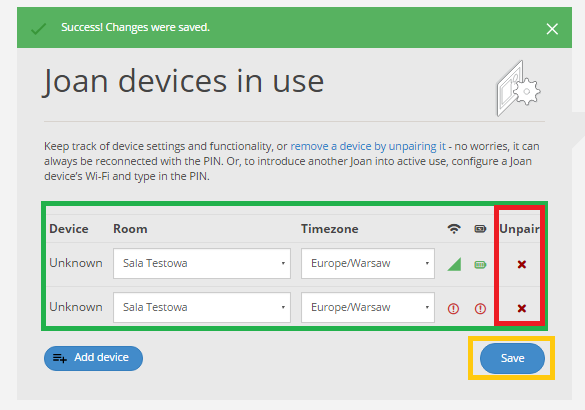
7. If the operation was successful, we will be taken to the device management screen. On this screen, we can also assign a different room or remove the configured device. After finishing the actions, click Save.
8. Success! Our device is now ready for operation and testing!
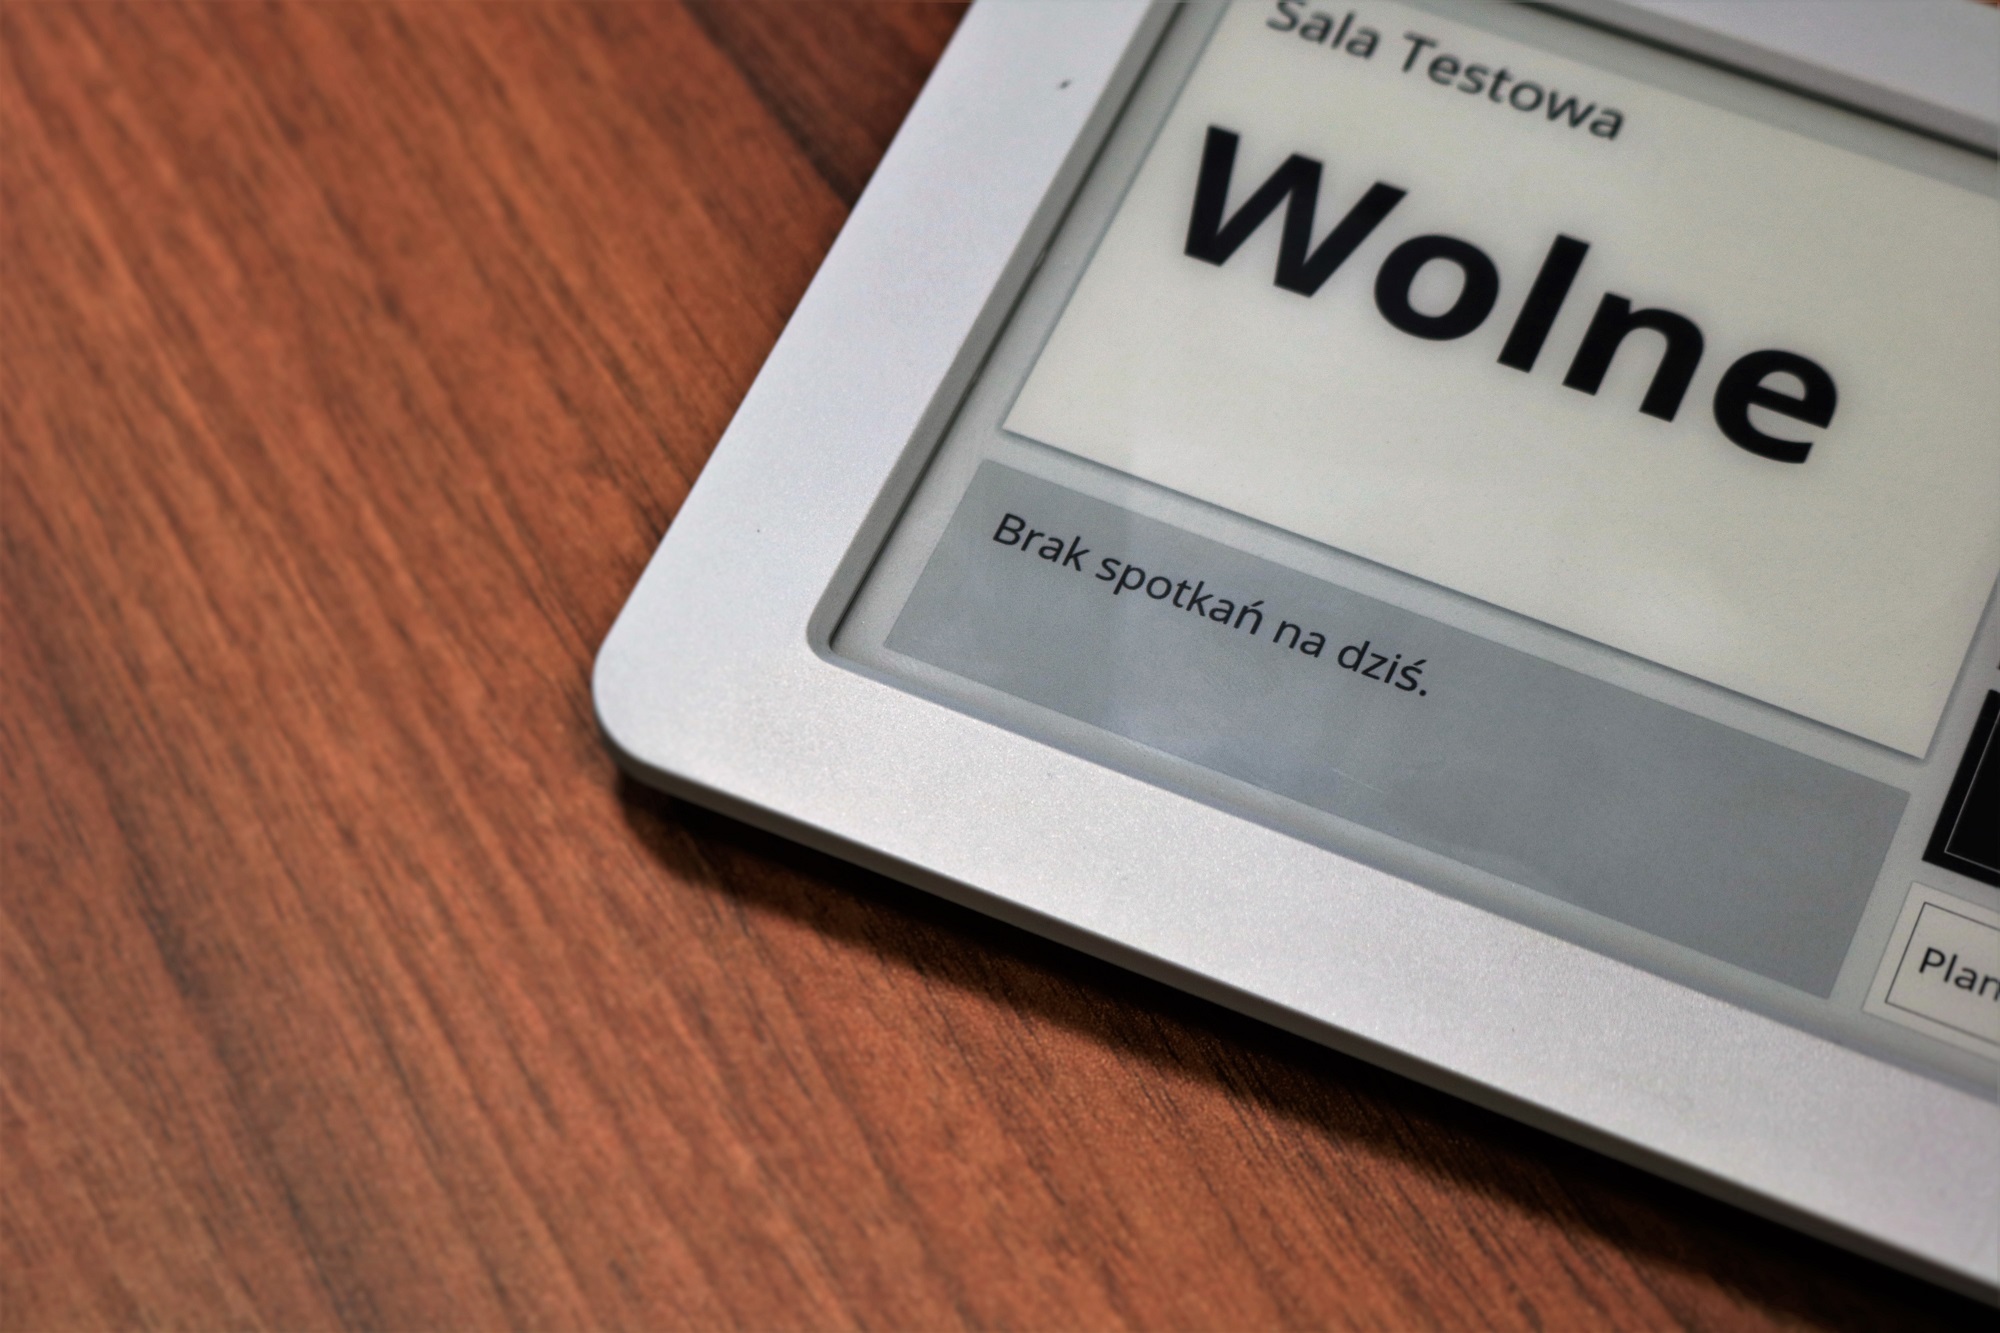
How does this device work in action? You can check in one of our previous articles.
If you have any questions or suggestions – feel free to contact us!